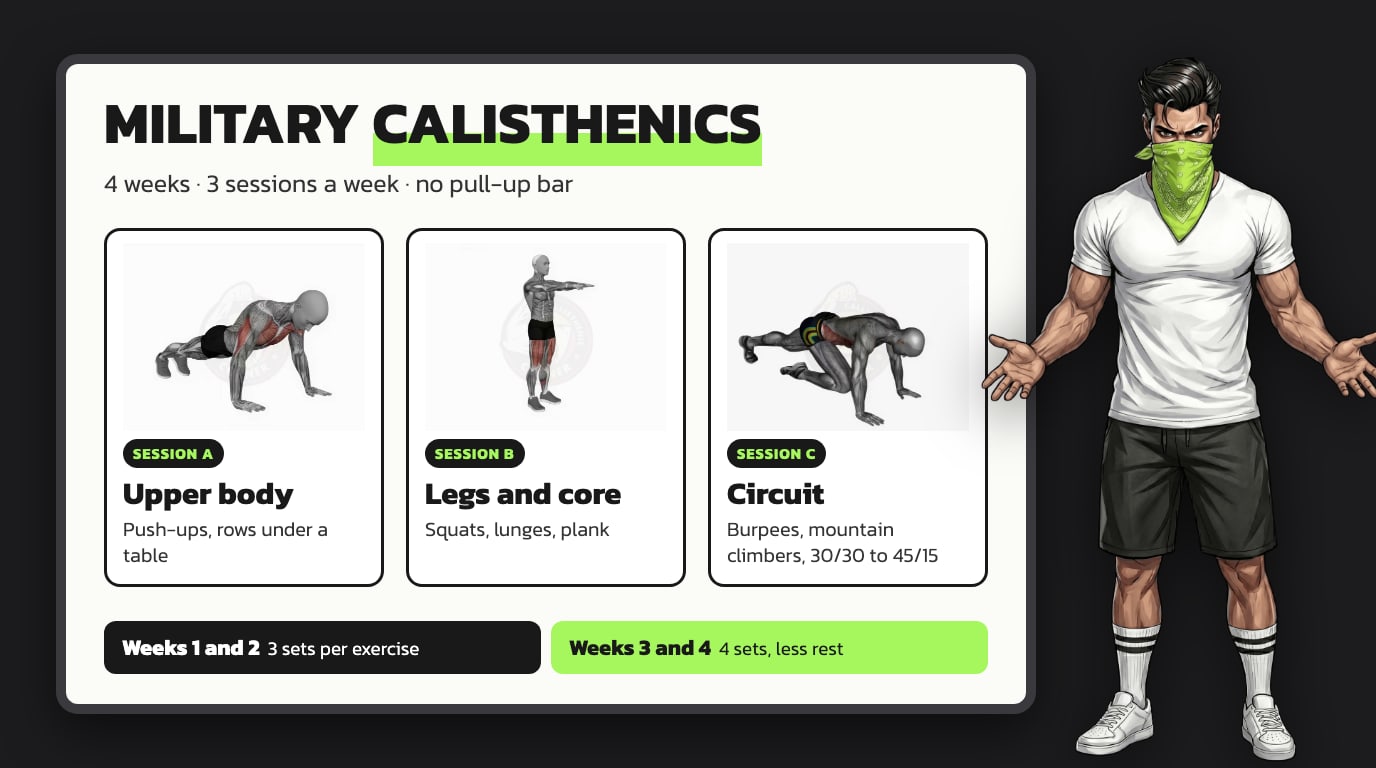
Military calisthenics is bodyweight training done the way armies do it: a handful of simple moves, lots of reps, short rests. No gym, no bar. The free 4-week plan below needs nothing more than a sturdy table, and every session opens with the US Army’s own warm-up.
You can also download the whole plan as a PDF, print it and keep it next to you while you train.
What is military calisthenics?
Military calisthenics means bodyweight exercises (push-ups, squats, lunges, planks, burpees) done in high-volume sets and circuits with short rests, in the style of military physical training. There is no official program called military calisthenics. The name describes a way of training, and most of what you find online comes from fitness apps.
Three things set the style apart:
- High volume: many reps of a few basic moves, session after session.
- Short rests: 30 to 90 seconds between sets, sometimes none inside a circuit.
- Strict, simple moves: nothing that takes weeks to learn, but every rep done through its full range.
Where the term comes from
On Google Trends, “military calisthenics” barely existed as a search in the United States before mid-2025. Interest first came in short bursts, in November 2025 and in the first week of January 2026, then climbed through the spring to its peak at the end of May. Since September, it has held at about a third of that peak (Google Trends, United States, October 2026).
Several apps on Google Play have “Military Calisthenics” in their name, and BetterMe publishes a series of guides on the subject. In October 2026, one of those guides was the top organic result on Google, and Muscle Booster ran ads on the search. None of this makes the training bad: the moves are the same ones soldiers do.
What the Army actually does
The US Army does run calisthenics, under other names. Its training manual, ATP 7-22.02 Holistic Health and Fitness Drills and Exercises, starts sessions with the Preparation Drill: ten bodyweight exercises in a fixed order, from the Bend and Reach to the Push-Up. Soldiers then move on to conditioning, strength and running drills.
The plan below uses that warm-up in a shorter version.
What it is not
It is not a shortcut. A 7-minute circuit will not melt fat on its own, and four weeks will not change what you see in the mirror. What four weeks do change are your numbers: more push-ups in a row, longer planks, the harder version of a move or two. The mirror takes longer, and it depends on your food and sleep as much as on your training.
Who it’s for and what you need
This plan fits beginners who can already do a few push-ups, even on their knees, and intermediate athletes who want a structured month of volume. If you have never trained at all, the guide to starting calisthenics gives you the basics first.
You need no equipment. A sturdy table replaces the pull-up bar for the rows: before your first set, check that it holds your weight without tipping or sliding. If a joint hurts sharply during a move, stop the set and switch to the easier version. An old ache that stays quiet on the easier versions is fine to train around.
How the plan works
Three sessions a week for four weeks: Session A for the upper body, Session B for legs and core, Session C for a military-style circuit. The exercises stay the same all month. What rises is the density: shorter rests from week 2, a fourth set from week 3, and the top of each rep range in weeks 2 and 4.
One rule beats all the others: a rep only counts if it looks like the first one. When your form breaks, end the set, even two reps short of the target. Speed comes last.
A simple week looks like this: Session A on Monday, B on Wednesday, C on Friday. Any other spread works as long as you keep a rest day between two sessions.
Your starting test
Before your first session, test four things and write the numbers down:
- max push-ups in a row, strict (note the version you used);
- max inverted rows under your table;
- air squats in 60 seconds;
- max plank hold, in seconds.
Rest at least 3 minutes between two tests so that each one starts fresh. You will run the exact same test at the end of week 4. There is no military score to hit here: the only benchmark is your own numbers from today.
Warm-up: the Army’s Preparation Drill (5 minutes)
These ten moves are the first Army PT exercises of every session, and the official standard is 10 reps of each (ATP 7-22.02 on the Army Publishing Directorate site).
At home, do the short version the manual allows when time is tight: 5 reps of each, per side when the move alternates. Go slowly, except on the High Jumper and the Push-Up (moderate pace). It takes about five minutes and warms up every joint the plan uses.
- Bend and Reach: feet wide, arms straight overhead. Drop into a half squat with your heels flat, reach both hands back between your legs, then return to the start.
- Rear Lunge: hands on your hips, take a big step back onto the ball of your foot, come back, switch legs.
- High Jumper: knees and hips bent, chest leaning forward, arms back. Alternate a small hop with a powerful jump straight up, arms swinging overhead.
- Rower: lying on your back with arms overhead, sit up as you pull your knees in and reach forward, then lie back down.
- Squat Bender: squat with your arms forward and stand up. Then, knees slightly bent and back straight, hinge at the hips and reach toward the floor until the back of your thighs stretches.
- Windmill: feet wide, arms out to the sides, bend and twist to touch your opposite foot, alternate.
- Forward Lunge: step forward into a lunge, push back, switch legs.
- Prone Row: lying face down, arms overhead, head and chest slightly lifted, pull your elbows to your sides, then reach forward again.
- Bent-Leg Body Twist: on your back, knees bent at 90 degrees above your hips, arms out, lower your knees to one side and then the other.
- Push-Up: hands directly under your shoulders, feet together, lower until your upper arms are parallel to the floor, then press back up.
Military calisthenics workout plan: 4 weeks
The plan runs 4 weeks, 3 sessions per week, 20 to 35 minutes each with the warm-up: about 30 minutes for Session A, 25 to 30 for Session B, and for Session C about 20 minutes in weeks 1 and 2, then 25 in weeks 3 and 4. Week 2 shortens the rests, week 3 adds a fourth set and shortens them again. Session C is a timed circuit, the part that feels most like military training.
Session A · Upper body
- Push-ups (on your knees or hands on a table if needed) 3×8-12 rest 90 s
- Military push-ups, elbows tight 3×6-10 rest 90 s
- Inverted rows under a sturdy table 3×8-12 rest 90 s
- Pike push-ups 3×6-8 rest 90 s
- Superman hold 3×20 s rest 45 s
Military push-ups keep your elbows brushing your ribs all the way down, with your hands directly under your shoulders (the hand position of the push-up in the Army’s Preparation Drill). If your elbows start to flare halfway through a set, check your setup against the military push-up form before chasing more reps.
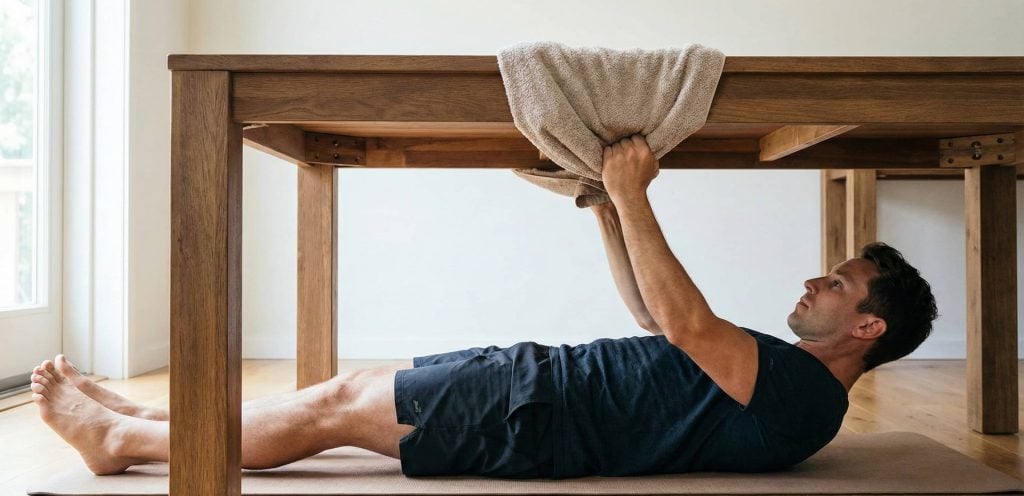
For the rows, lie under the table, grab the edge with straight arms and pull your chest up to it, body straight like a plank. A folded towel over the edge is kinder on your hands. These inverted rows under a sturdy table are the same move as Australian pull-ups. Bend your knees and keep your feet flat to make them easier.
Session B · Legs and core
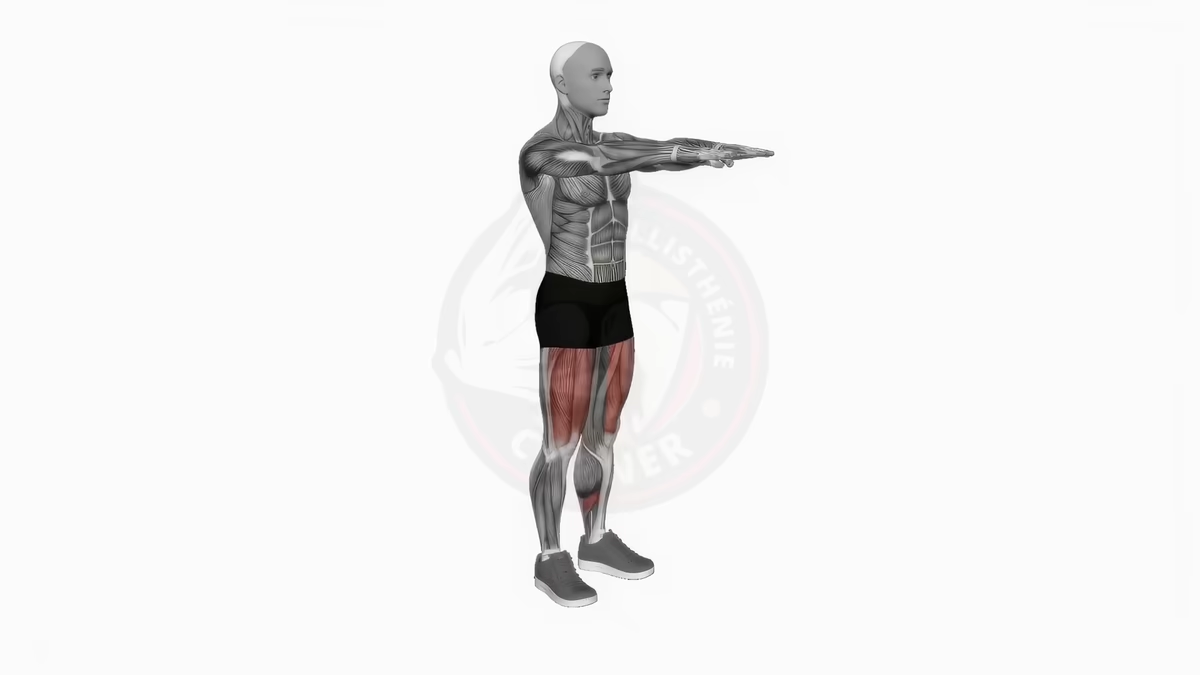
- Air squats 3×15-20 rest 60 s
- Reverse lunges, alternating 3×10 per leg rest 60 s
- Wall sit 3×30-45 s rest 60 s
- Glute bridge 3×15 rest 45 s
- Plank 3×30-45 s rest 45 s
Session B is the easiest one to rush. Keep the full range on every squat, thighs at least parallel to the floor and heels down, and lower into each lunge until your back knee almost touches the ground.
Session C · The military circuit
Set a timer. Do each move for the work time, rest for the rest time, then go straight to the next one. One pass through the four moves is one round. Rest 90 seconds between rounds.
- Burpees 30 s work rest 30 s
- Mountain climbers 30 s work rest 30 s
- Jump squats 30 s work rest 30 s
- Plank up-downs 30 s work rest 30 s
Plank up-downs start in a forearm plank. Press up to a high plank one arm at a time, then lower back to your forearms, and switch the leading arm on each rep. Keep your hips still: if they swing from side to side, widen your feet.

Week by week
| Week | Sessions A and B | Session C |
|---|---|---|
| 1 | 3 sets, bottom of each rep range, rest as listed | 3 rounds, 30 s work / 30 s rest |
| 2 | 3 sets, top of each rep range, 15 s less rest | 3 rounds, 40 s work / 20 s rest |
| 3 | 4 sets, bottom of each rep range, 30 s less rest | 4 rounds, 40 s work / 20 s rest |
| 4 | 4 sets, top of each rep range, 30 s less rest, then the retest at the end of the week | 4 rounds, 45 s work / 15 s rest |
Never drop a rest below 30 seconds on Sessions A and B. The superman hold, the lunges and the glute bridge have a single target instead of a range: add 5 seconds or 2 reps to it in weeks 2 and 4. If a week feels too hard, repeat it: four weeks can become five without losing anything.
If you have a pull-up bar
Swap the table rows for rows on a bar set at hip height, and finish Session A with 3 dead hangs of 20 to 30 seconds.
The movements, easiest to hardest
The five moves that come back in almost every military-style workout are the push-up, the squat, the lunge, the plank and the burpee. Each has an easier and a harder version, so the plan fits you on day one and still works in week four.
| Movement | Easier | In the plan | Harder |
|---|---|---|---|
| Push-up | Hands on a table | Full push-up | Feet on a chair |
| Military push-up | Hands on a table | Hands under the shoulders, elbows tight | 3-second lowering |
| Inverted row | Knees bent, feet flat | Legs straight | Feet on a chair |
| Pike push-up | Hips high, half range | Head down between your hands | Feet on a chair |
| Air squat | Sit down to a chair | Thighs parallel | 3-second pause at the bottom |
| Reverse lunge | One hand on a wall | Alternating legs | Back foot on a chair |
| Plank | On your knees | On your forearms | Shoulder taps from a high plank |
| Burpee | Step back, no jump | Full burpee | Push-up at the bottom |
| Mountain climber | Hands on a bench, slow | Fast, hips low | Knee to the opposite elbow |
| Jump squat | Fast air squat onto your toes | Jump squat | Tuck jump |
| Plank up-down | From your knees | From your feet | Push-up at the top |
For each exercise, pick the version where the bottom of the range is hard but doable in week 1. If every set of an exercise reaches the top of its range in week 2, switch to the harder version in week 3 and start again from the bottom, with 4 sets. If that only happens in week 4, take the harder version into your next cycle. Your squats might change version in week 3 while your push-ups stay the same until the end.
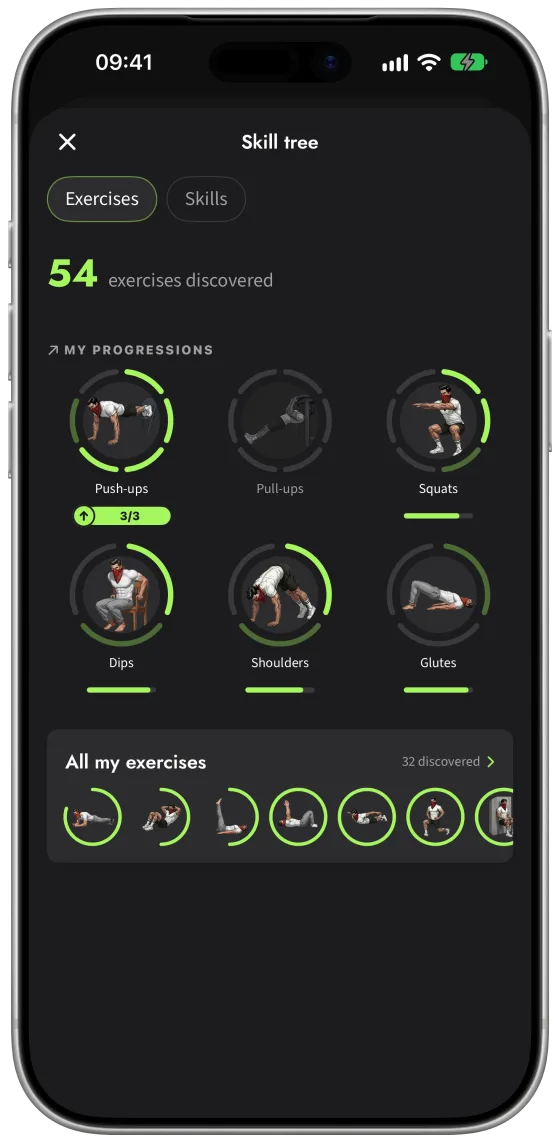
The app tracks it the same way: each family of moves has its own progress ring, so your push-ups and your squats move up at their own pace.
Prefer a 28-day challenge?
Four weeks is 28 days, so this plan is already a 28-day military calisthenics challenge, rest days included. To follow it day by day, spread the typical week like this, with two full rest days:
| Monday | Tuesday | Wednesday | Thursday | Friday | Saturday | Sunday |
|---|---|---|---|---|---|---|
| Session A | Active recovery | Session B | Rest | Session C | Active recovery | Rest |
Active recovery means a 20- to 30-minute walk, or the Preparation Drill on its own, without trying to break a sweat. Repeat that week four times and follow the progression in the table above.
Military calisthenics for women
The plan is the same for women and for men: same moves, same sets, same rule of strict reps. What usually changes is the starting point on push-ups and rows, which is why every move in the table above has an easier version.
In October 2026, one of the military calisthenics apps on Google Play was aimed at women over 40. The advice for them is the one for everyone: start with push-ups on a table and bent-knee rows, then lower your hands one step at a time (table, chair, low step, floor) as the sets get easy. Your first full push-up comes from those steps, not from forcing it on the floor on day one.
In the app, you can pick a female or a male coach. The sessions and the unlock thresholds stay identical: only the voice and the avatar change.

What makes it fail
The first trap is speed. A circuit invites you to rush, and rushing turns push-ups into half push-ups. Slow down until every rep reaches its full range again.
The second is training every day. Strength builds during rest, so keep a day off between two sessions, even in week 4 when you feel fresh.
The third is starting on a version you cannot handle yet. If you miss the bottom of the range in week 1, drop one level in the table above and move back up when the progression rule says so.
Your daily session in the app
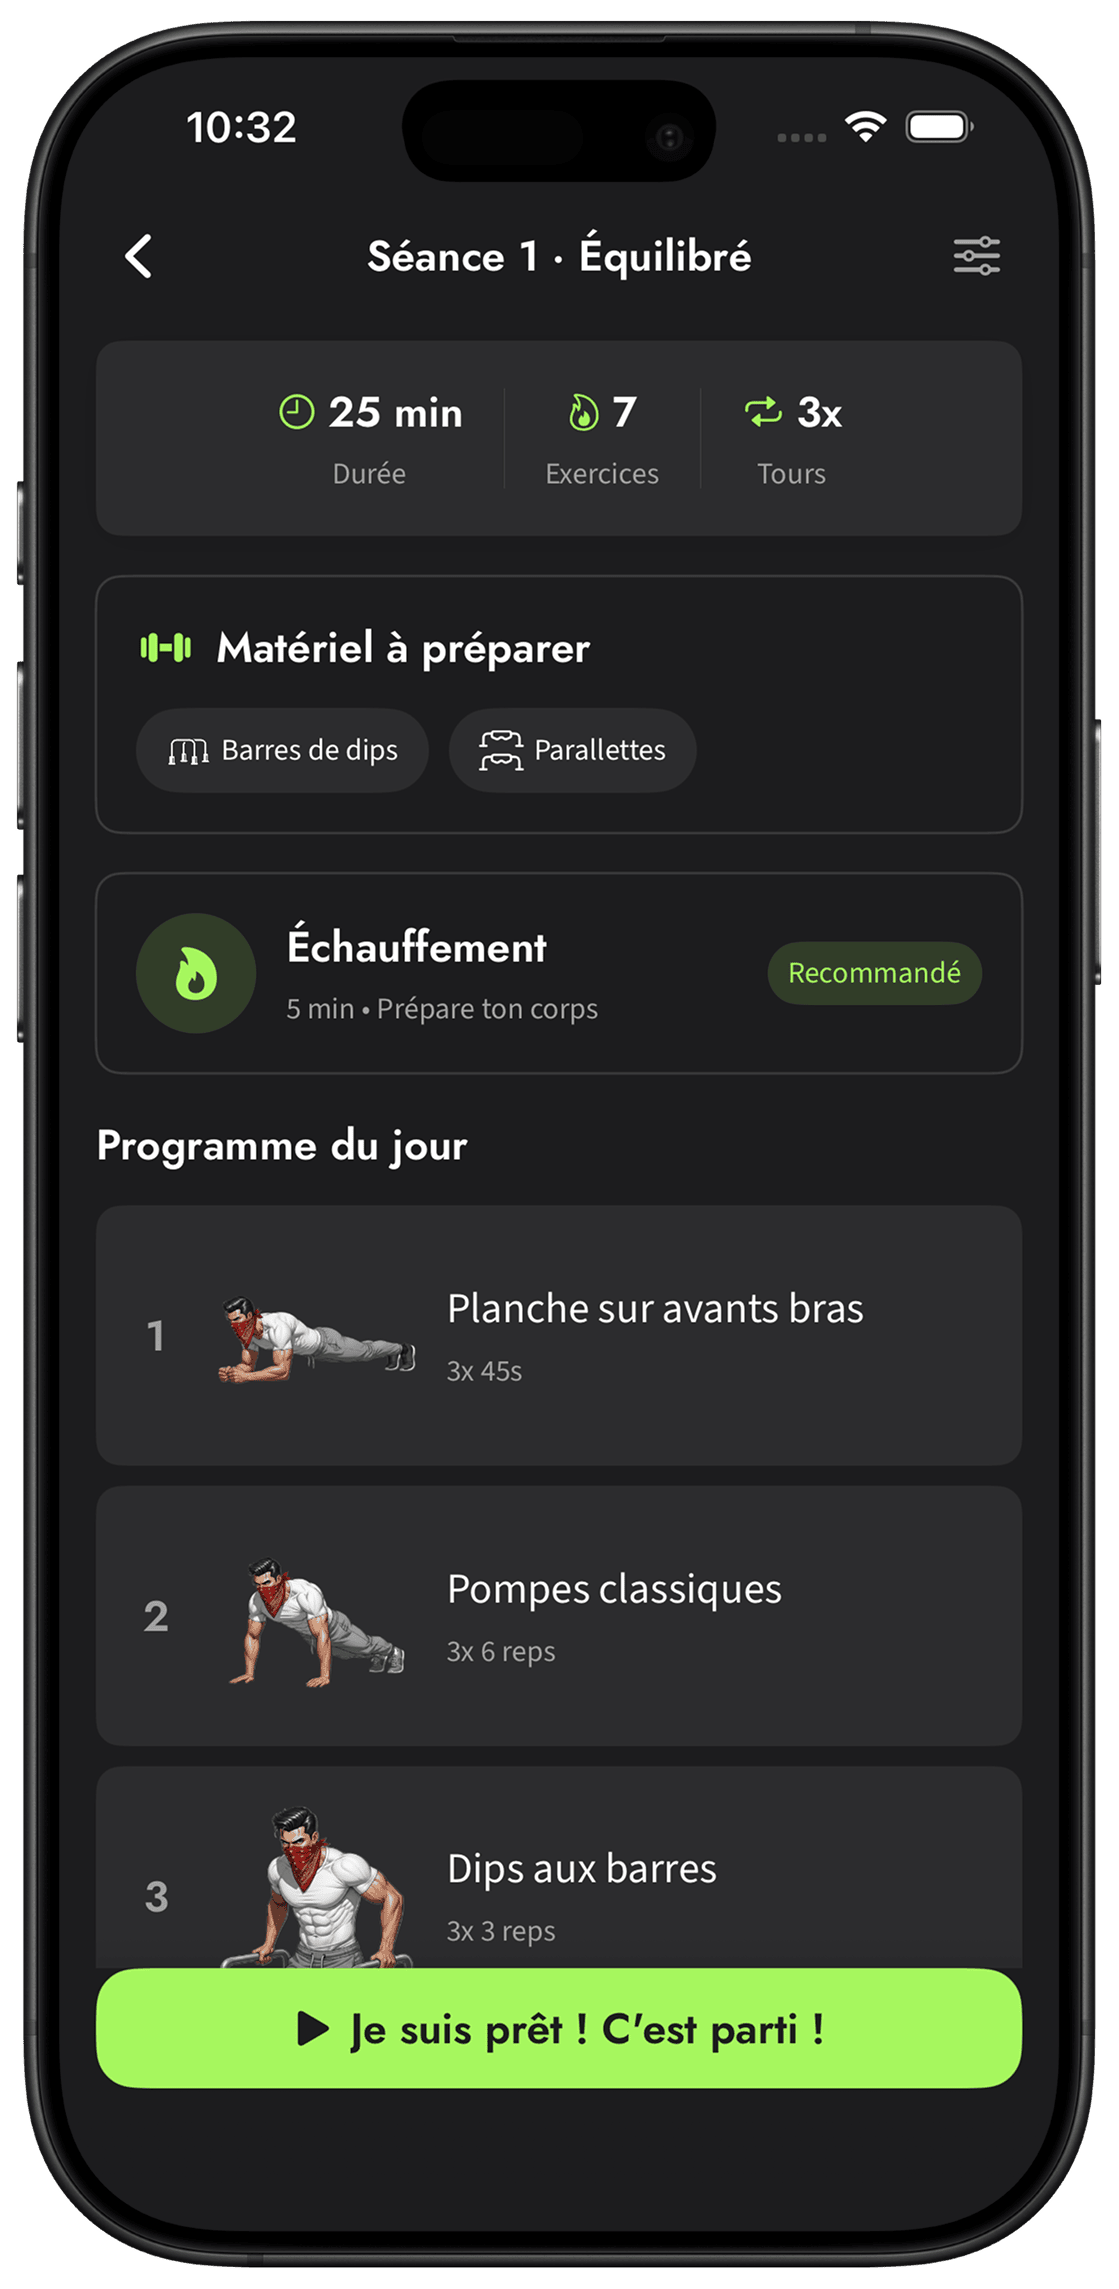
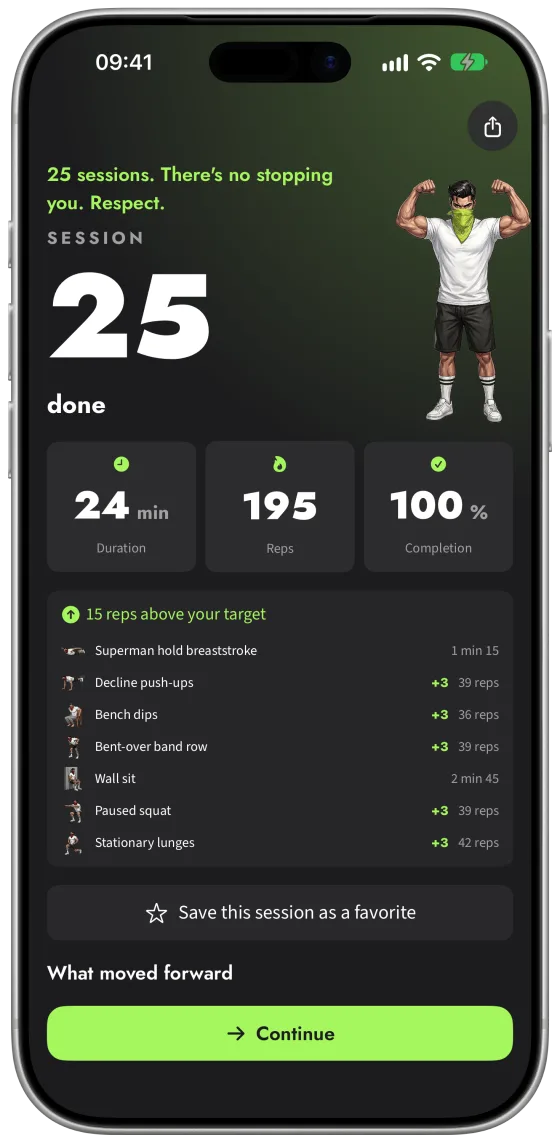
The Calisthenics Corner app runs on the same logic as this plan. It gives you a session for the day, you log your reps, and the next session adjusts. When your numbers justify it, the harder variation unlocks.
There is no “military mode” in the app, and you do not need one. The plan above is free; the app is there if you would rather have the progression handled for you.

After these 4 weeks
Your retest at the end of week 4 tells you where you stand. If your four numbers went up, start with a second 4-week cycle on the harder versions from the table: every move that reached the top of its range goes up one version and starts again from the bottom.
At the test that closes this second cycle, compare your push-ups and your squats with your very first test. The one that improved the least picks your next program, and only one. Running both programs at once would mean six sessions a week, with no pulling exercise at all.
- If it is your push-ups, the push-up program takes you to 30 strict push-ups in a row. Its phase 1 ends with a test of 10 full push-ups on the floor. Under 10, start it in week 1. With 10 or more, go straight to phase 2, in week 4.
- If it is your squats, take the lower body program, which leads from the air squat to the pistol squat in 10 weeks. Its prerequisites come from your Session B: 20 squats in a row, 10 lunges per leg, a 30-second wall sit and 15 glute bridges held 2 seconds at the top.
If a pull-up bar joins your setup, move on to the pull-up program, from zero to 10 strict pull-ups in 12 weeks. It has two prerequisites: 8 Australian pull-ups in a row, which your starting test already measures with the table rows, and a 20-second dead hang, to check as soon as the bar is up. The full body and Push Pull Legs programs come after it, because they assume at least 5 strict pull-ups.