The position of your hands on the bar determines which muscles you recruit, how intensely they fire, and whether your training session will be productive or counterproductive.
Two dimensions matter: hand orientation and grip width.
Orientation refers to pronation (palms forward), supination (palms toward you), or neutral (palms facing each other). Each orientation shifts muscle recruitment. Pronation emphasizes the lats. Supination brings in the biceps. Neutral grip delivers a balanced blend.
Width covers close (hands together), medium (shoulder width), and wide (beyond the shoulders). The wider you go, the more you reduce range of motion. And that is where the problem starts.
Scientific studies are clear: full range of motion beats grip width for muscle development. A wide-grip pull-up with 30% less ROM will always be less effective than a neutral-grip pull-up with complete amplitude.
Understanding this changes everything. If you truly want to build your back with calisthenics, stop chasing the widest grip possible. Chase maximum range of motion instead.
For a deeper look at the pronation vs. supination debate specifically, see our pull-up vs. chin-up comparison.
Wide grip: the myth of the wider back
You hear it everywhere: wide grip builds a wider back. That is a persistent myth. Let’s break it down.
Technique
Hands spaced at 1.5 times shoulder width (maximum). Any wider puts your shoulders at risk without additional muscle gain. Pull your body upward with your elbows slightly to the sides. Your range of motion is naturally reduced: you cannot descend as fully or pull as high as with a medium grip.
Muscles targeted
The latissimus dorsi works, especially its outer fibers. The teres major is heavily recruited, which is the true advantage of this grip. The middle trapezius also contributes. However, the biceps barely participate because the wide position prevents full elbow flexion.
What the science says
The “wide grip = wide back” myth comes from a confusion. Yes, the teres major contributes to visual back width. But that width develops with ALL grips, as long as you progress in strength and training volume. Full range of motion always beats grip width for building muscle.
Verdict
Wide grip has its place in your training, but not as a priority. Useful for variety and targeting the teres major, but do not rely on it to build a massive back. Full ROM remains the key.
Advantages: Strong teres major recruitment. Lat isolation with minimal arm compensation. Useful variation to break routine.
Drawbacks: Limited ROM means less muscle stretch and suboptimal growth. Stressful shoulder position with injury risk if taken too wide. Fewer reps possible. Not beginner-friendly.
Close grip: range of motion that counts
Close grip is the opposite of wide grip. Your hands are close together (shoulder width or narrower), and you can finally exploit full range of motion.
Technique
Hands at shoulder width or closer. In a strict close grip, your thumbs can nearly touch. Lower completely with arms almost fully extended. Pull up until your chest nearly contacts the bar. Maximum amplitude guaranteed.
Note: in a very narrow grip, your elbows may bump against your torso at the top. This slightly limits the final portion of the range. Find your optimal width, usually between shoulder width and slightly narrower.
Muscles targeted
The latissimus dorsi is massively recruited, especially its inner fibers. The biceps work hard (expected with this grip). The lower trapezius activates well. The forearms carry a significant load, particularly in pronation.
Pronation vs. supination in close grip
Close pronation: Technically harder. Maximum lat emphasis. Excellent for pure strength. Requires solid scapular depression to avoid arm compensation.
Close supination: More accessible because the biceps help significantly. Ideal for beginners. Allows more reps. Risk: overcompensating with the arms and underworking the back.
Verdict
Close grip is devastatingly effective. The full ROM far outweighs the minor drawbacks. If you master the technique (engaging the back before the arms), this is a top-tier grip for building mass.
Advantages: Full ROM equals better lat stretch and superior muscle growth. More natural and comfortable than wide grip. Versatile: trains both back and arms effectively. Logical stepping stone toward archer pull-ups and one-arm progressions.
Drawbacks: Risk of bicep compensation with poor technique. Requires good body awareness to engage the back first. Can stress the wrists at narrow widths.
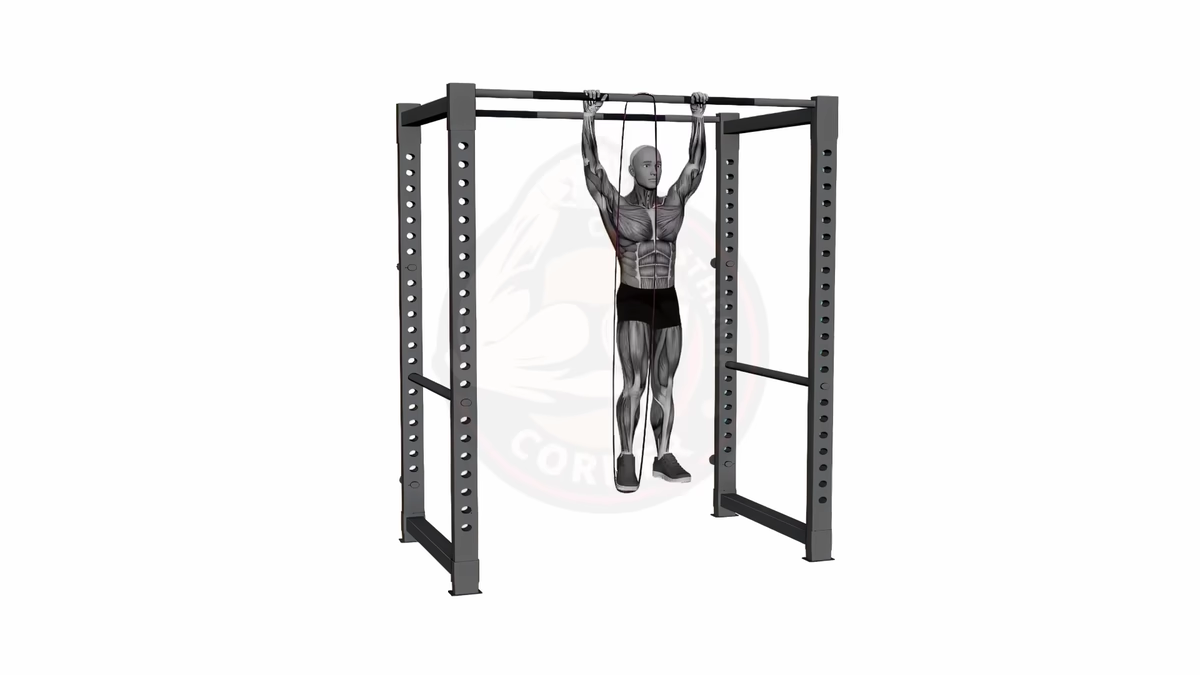
Neutral grip: the best compromise
Neutral grip, also called “hammer grip,” is the grip you should prioritize. Palms facing each other, optimal biomechanics, maximum joint comfort, complete muscle activation. The full package.
Equipment needed
Parallel handles attached to your pull-up bar, or a V-bar you hook over the bar. Minimal investment, massive benefits.
Technique
Grip the parallel handles, palms facing each other, shoulder width apart. Hang with arms almost fully extended (keep a slight bend to protect the elbows). Shoulders low, scapulae active. Core fully braced: abs contracted, glutes squeezed, legs straight or slightly bent.
Pulling phase: Initiate by driving your elbows down AND back. Think “pull elbows toward your hips,” not “bend your arms.” Contract the lats hard from the start. Pull until your chin clears the bar. Keep your chest high with a slight natural arch. Exhale on the way up.
Top position: Pause 1 second. Maximum contraction of the lats and traps. Do not release tension.
Lowering phase: Descend under control, 2-3 seconds minimum. Resist gravity. Control the progressive lat stretch. Return to arms nearly extended. Inhale on the way down.
Why neutral grip is the one to prioritize
1. Exceptional joint comfort. Zero shoulder stress. The neutral wrist position respects your anatomy. Perfect if you have elbow valgus. Prevents tendinitis with no forced wrist or shoulder torsion.
2. Full range of motion. You lower as deep as close grip. Better lat stretch than wide grip. You can do more reps because joints fatigue slower. Higher training volume equals superior growth.
3. Optimal muscle activation. EMG studies show lat activation equal to or greater than other grips. Excellent trapezius recruitment. No sacrifice in muscle effectiveness.
4. Accessibility and progression. Easier than wide pronation for beginners. Natural biomechanics simplify the learning curve. Higher training frequency possible (faster joint recovery). Longer linear progression before plateauing.
Prerequisites for grip variation training
Before worrying about which grip to use, ensure you can perform at least 5 strict pull-ups in medium pronation grip.
Baseline test:
- 5 pull-ups in medium pronation, full ROM, clean technique
- OR 8 band-assisted pull-ups (with a resistance band)
- OR 3 sets of 10 Australian pull-ups
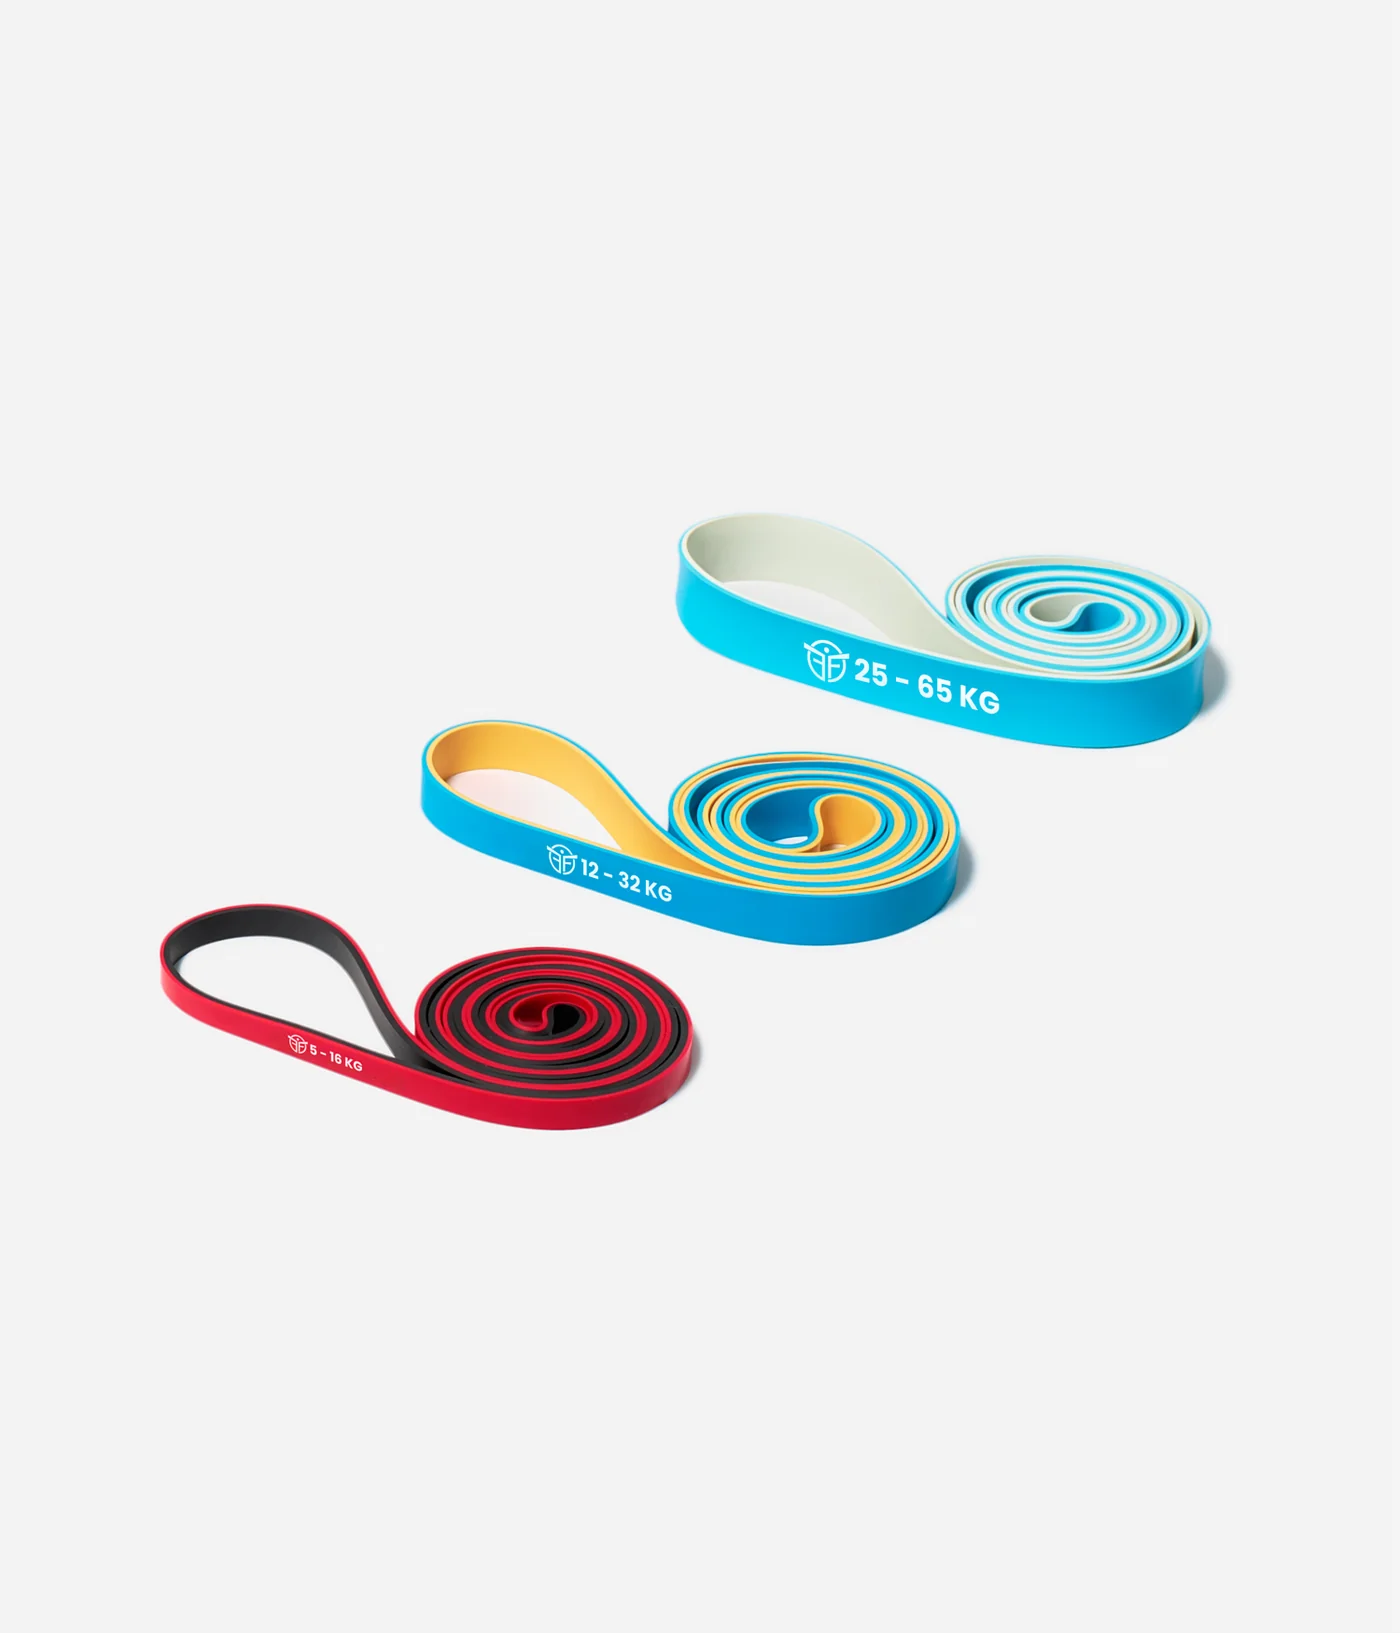
If you do not pass this test: Start with Australian pull-ups. Work scapular pull-ups for starting strength. Strengthen your core with planks and hollow holds. Build your grip with dead hangs. Patience is normal here: some people need 2-3 months for their first pull-up.
Required core strength:
- 30-second dead hang (hanging from bar, arms extended)
- 45-second plank minimum
- 30-second hollow hold
Without a solid brace, you will compensate with swinging and your technique will suffer. Take the time to build these foundations.
How to choose YOUR grip based on your goals
| Goal | Recommended grip | Why |
|---|---|---|
| Back width | Neutral or medium pronation | Full ROM = maximum lat stretch and growth |
| Back thickness | Close neutral | Targets traps and inner lat fibers |
| Beginners | Neutral | Most accessible, comfortable, and safe |
| Shoulder pain | Neutral only | Zero joint stress, safest position |
| Toward one-arm pull-up | Close, then archer | Builds unilateral strength progressively |
| Max strength | Neutral + added weight | Best foundation for linear strength progression |
For advanced calisthenics skills:
- Neutral grip mastered leads to the muscle-up (natural transition), the front lever (same muscle recruitment), and weighted pull-ups for raw strength.
- Close grip mastered leads to archer pull-ups, assisted one-arm pull-ups, and eventually the one-arm pull-up.
- Wide grip mastered leads to the back lever (teres major strength), explosive pull-ups, and wide-grip muscle-ups.
Common mistakes by grip type
Mistakes common to ALL grips
Incomplete range of motion. Half-reps with arms never fully extended at the bottom and chin barely clearing the bar at the top produce zero growth. Lower until your arms are almost straight (keep 5-10 degrees of flexion). Pull until your chin clearly passes the bar. If the amplitude is not complete, it does not count.
Swinging like a pendulum. Kipping turns a pull-up into a cardio movement. Your muscles do not do the work. Solution: active bracing from start to finish, abs contracted permanently, body stable, no leg swinging. If you need momentum to get up, you are not strong enough yet. Use a band or do fewer reps.
Shoulders climbing toward the ears. Your upper traps take over, your lats disengage. Solution: keep shoulders LOW at all times. Active scapular depression: pull your scapulae down before you even start pulling.
Pulling with arms instead of back. You start the movement by bending elbows. Your biceps burn out in 3 reps, your back does nothing. Solution: ALWAYS initiate with the back. Think “drive elbows toward hips” rather than “bend arms.” The arms follow; they do not lead.
Grip-specific mistakes
Wide grip: Going too wide. Beyond 1.5 times shoulder width, you endanger your joints for zero additional muscle gain. If your shoulders hurt, narrow your grip.
Close grip: Elbows flaring sideways. This shifts the load entirely to the biceps and away from the back. Keep elbows driving down and back, toward your rear pockets.
Neutral grip: Not using the exceptional ROM available. You do half-reps when this grip allows maximum stretch. Lower as far as you can. The stretch phase at the bottom is where growth happens.
What comes next?
You have mastered the different grips? Time to level up.
The muscle-up is the natural progression. Neutral grip offers the best transition between the pull phase and the dip phase.
The front lever shares the same muscle recruitment: lats, traps, complete core bracing. The strength you build across all grip types transfers directly.
Or add weight to keep progressing in pure strength. Dip belt or weighted vest, progressing from +5 kg to +10 kg to +20 kg. Target: 10 clean pull-ups at +20 kg.
Now you have the full picture. Neutral grip as your base, full range of motion as your priority, progressive overload as your engine. Stop searching for the magic grip. Pick one, master it, progress on it. Ready to build the complete foundation? Learn how to start calisthenics and put this knowledge into action.