Why use resistance bands for pull-ups?
Resistance bands turn an impossible exercise into a doable one. Unlike assisted machines at the gym that lock you into a fixed path, a band forces you to stabilize your own body. You develop balance, core bracing, and coordination alongside raw pulling strength.
The assistance decreases as you rise. The higher you pull, the less the band helps. The result: you build strength exactly where you need it most.
For beginners, band-assisted pull-ups are the gateway to strict pull-ups. For more experienced athletes, they serve as a volume tool to accumulate reps without burning out the shoulders.
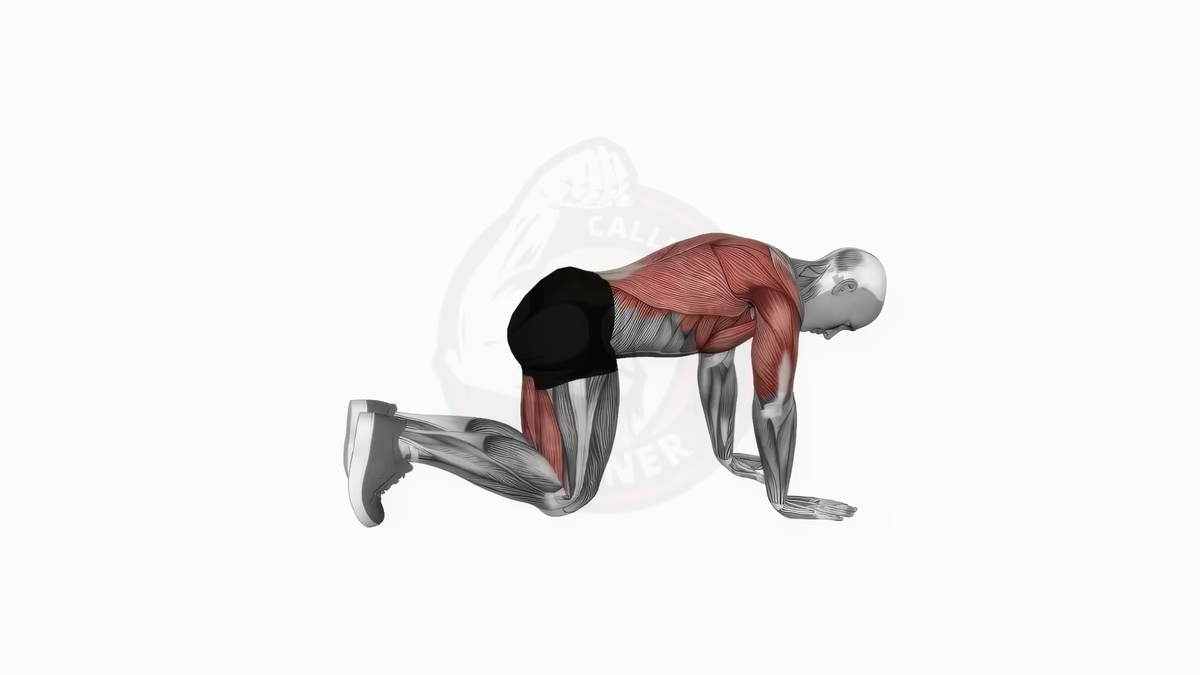
Muscles worked with band-assisted pull-ups
Band-assisted pull-ups recruit the exact same muscles as standard pull-ups:
| Muscle | Role |
|---|---|
| Latissimus dorsi (lats) | Main pulling force. The engine of the movement. |
| Trapezius and rhomboids | Fix your scapulae and stabilize your back. Without them, your shoulders roll forward. |
| Biceps and forearms | Flex your elbows and maintain your grip on the bar. |
| Posterior deltoids | Stabilize your shoulders throughout the pull. |
| Abs and core | Keep your body straight and prevent swinging. |
The band does not reduce muscle activation. It simply reduces the load so you can repeat the movement with proper form.
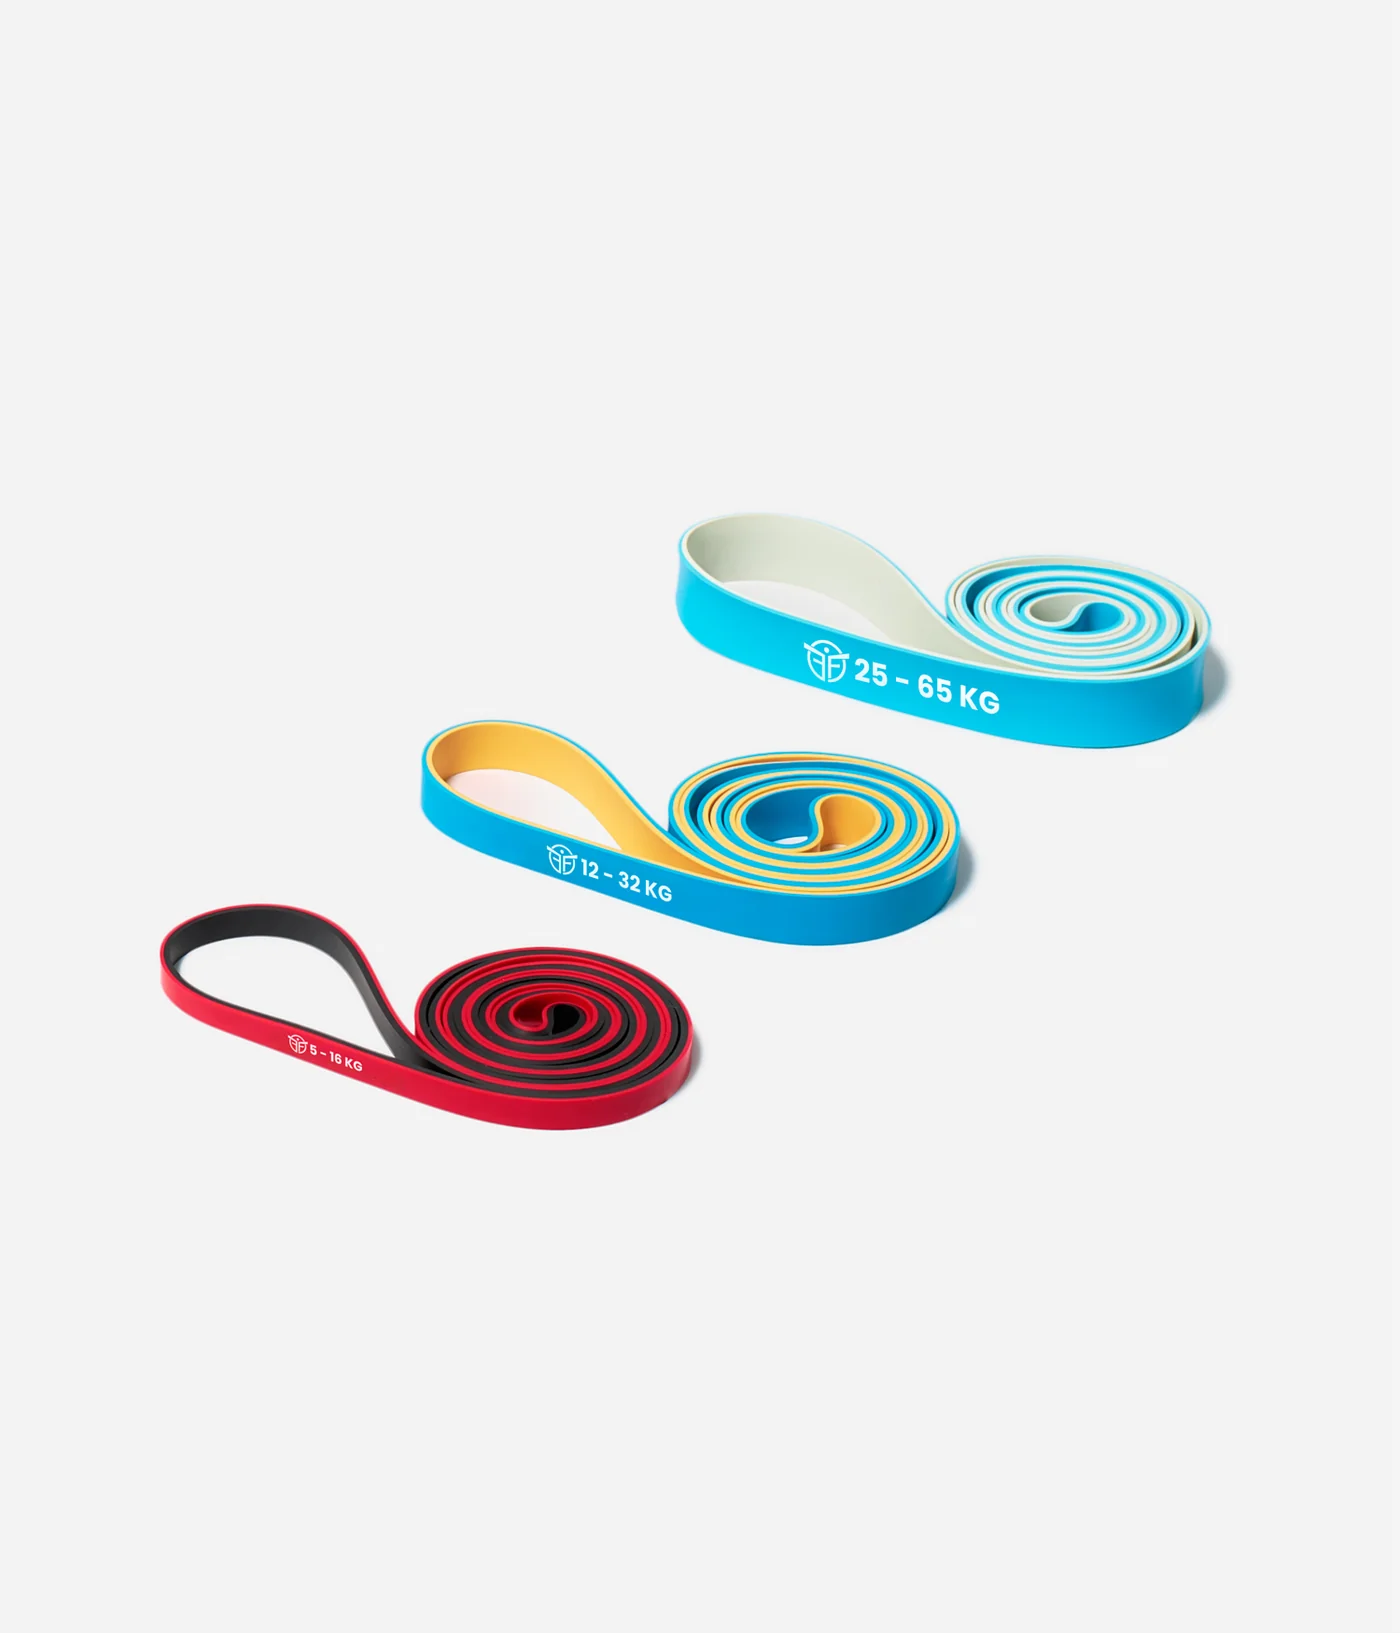
Choosing the right resistance band
Resistance level: your number one criterion
The resistance determines how much the band assists you. Stronger bands provide more support. The goal: start with high assistance, then progressively reduce it until you no longer need any help.
- Strong band (35-80 kg): For complete beginners or those returning from injury. Allows full reps even if you cannot yet move your own body weight.
- Medium band (15-35 kg): For those who can grind out 1-3 unassisted pull-ups. The intermediate phase of progression.
- Light band (5-15 kg): For those already doing 5-8 pull-ups. The final step before full independence.
Material and durability
Natural latex and synthetic rubber are the two materials that last. Elastic, resistant, they handle hundreds of sessions without losing shape.
Avoid fabric or mesh bands for assisted pull-ups. They slip, stretch out quickly, and do not provide progressive assistance.
Length and format
Closed-loop bands of 208 cm are the standard for pull-ups. They fit any pull-up bar and lock securely.
A shorter format creates excessive tension and limits range of motion. A longer format loses assistance effectiveness and is harder to secure properly.
For a detailed comparison of the best bands available, check our resistance bands guide.
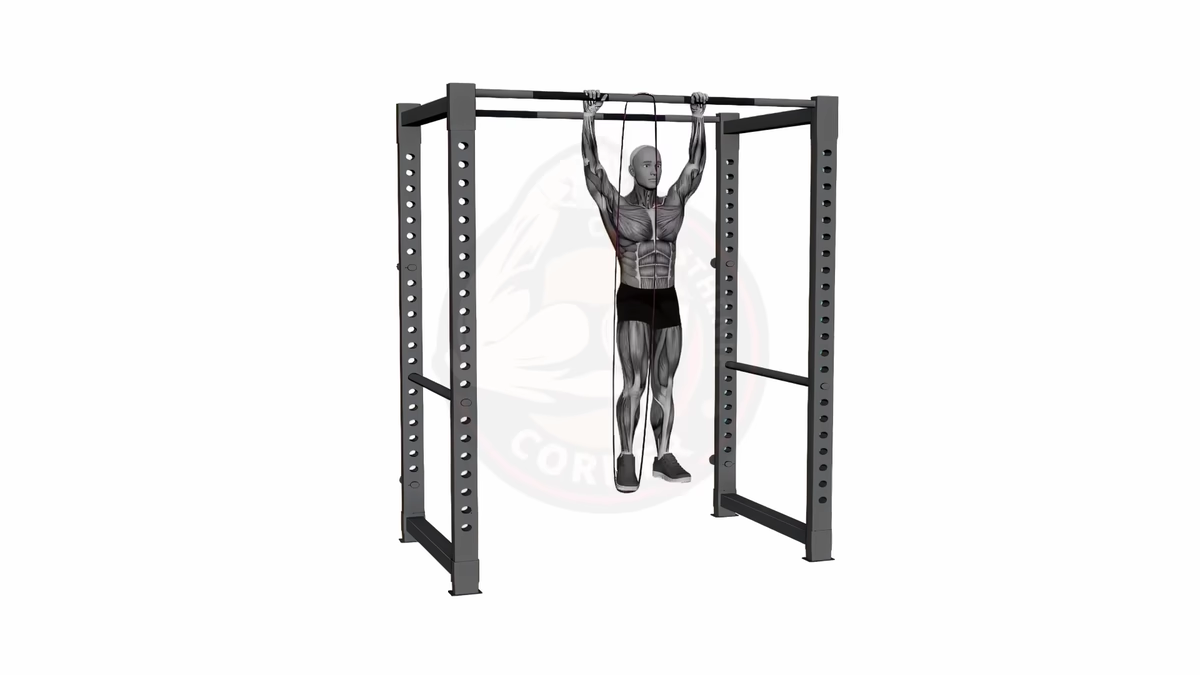
How to attach the band to the bar
The larks head knot is the simplest and safest method.
Loop the band over the bar. Pass one end through the other end’s loop. Pull tight to secure the knot. The band should sit in the middle of the bar, impossible to slide.
Check before every set that the knot is tight. A band that slips mid-rep means a guaranteed fall.
Step-by-step technique
Starting position
Secure the band with a larks head knot. Place one foot in the hanging loop, centered on the middle of your sole. Cross the other foot over to keep the band from slipping.
Grip the bar with an overhand grip (palms facing forward), hands shoulder-width apart. Arms extended, shoulders low and away from your ears. Body straight, abs engaged.
If you cannot reach the bar, use a bench or step. Do not jump to grab it, as that creates unwanted swinging.
Executing the movement
Pulling phase: Inhale at the bottom. Drive your elbows toward the floor by contracting your lats. Pull until your chin clears the bar. Focus on pulling your shoulder blades down and back.
Lowering phase: Exhale. Lower under control, arms fully extended at the bottom. No free-falling. The slow descent builds just as much strength as the pull.
Ideal tempo: 1 second up, 2-3 seconds down. Keep your body straight throughout, no leg swinging.
Foot vs. knee in the band: what changes?
Foot in the band: Maximum assistance. The band stretches to full tension and pushes you hard toward the bar. Best for beginners who struggle to reach the top.
Knee in the band: Reduced assistance. The band stretches less and helps less. This is the intermediate step when you start handling reps comfortably with your foot in the loop.
Always start with the foot. Switch to the knee when you can do 10+ clean reps with foot assistance.
Mistakes that kill your progress
Choosing a band that is too strong. Your muscles do not work hard enough. You plateau for months without progressing. Pick a resistance that challenges you by rep 6.
Dropping on the descent. You miss 50% of the muscle-building stimulus. The eccentric phase builds just as much strength as the concentric. Lower slowly, always.
Swinging your legs to cheat. This turns the exercise into a kipping pull-up. It cancels the core engagement and overloads your shoulders. Body straight, zero swinging.
Staying on the same band too long. If you are doing 15 easy reps with your current band, switch to a lighter one. Progression comes from progressive overload, not comfort.
Skipping scapular warm-up. Your shoulders drift forward, your scapulae do not engage. Always perform 2 sets of scapular pull-ups before starting your pull-up work.
12-week progressive program: from band to strict pull-ups
Weeks 1-3: Master the movement (strong band)
- Resistance: 35-50 kg
- 3 sessions per week
- 4 sets x 6-8 reps
- Rest: 2-3 minutes between sets
Goal: 4 sets of 10 clean reps with total control on the descent.
Weeks 4-6: Reduce the assistance (medium band)
- Resistance: 20-35 kg
- 3 sessions per week
- 4-5 sets x 5-8 reps
- Rest: 2-3 minutes between sets
Goal: 5 sets of 8 controlled reps, 1-3 second tempo.
Weeks 7-9: Almost independent (light band)
- Resistance: 10-20 kg
- 3-4 sessions per week
- 5 sets x 4-6 reps
- Add 2 sets of band-free negative pull-ups (5-second descent)
Goal: 3 strict pull-ups without assistance + volume with the band.
Weeks 10-12: Final transition (mixed)
- 2 sets without band (max reps)
- 3 sets with light band (volume)
- Progressively increase the band-free ratio each week
Goal: 5-8 strict pull-ups in a row without any help.
Complementary exercises to accelerate progress
Negative pull-ups: Jump so your chin clears the bar, then lower slowly (5 seconds minimum). Builds brutal eccentric strength.
Scapular pull-ups: Arms straight, depress your shoulders by retracting your scapulae. Activates your lats before the full movement.
Australian pull-ups: Low bar, body inclined, pull your chest to the bar. Strengthens the back in a more accessible position.
Dead hangs: Hang from the bar for 30-60 seconds, arms extended. Develops grip and passive core engagement.
Band rowing: Fix the band at a low anchor, pull by driving your elbows back. Strengthens your lats outside of pull-up training.
Integrate 2-3 of these exercises after your assisted pull-ups. They accelerate your path to unassisted reps.
When to remove the band entirely
Signal 1: You complete 10+ assisted reps with a light band (5-15 kg) without struggling.
Signal 2: You hit 3-5 strict pull-ups without any assistance, with clean technique.
Signal 3: You control the descent perfectly with a slow 3-5 second lowering phase.
Transition strategy: Alternate sets with and without the band. Start each session with 1-2 band-free sets (max effort), then continue with the band for volume work.
Be patient. Expect 8-16 weeks depending on your starting point. If you start from zero pull-ups, plan for 3-4 months of consistent work. If you already manage 2-3 reps, 2 months is enough.
What comes after strict pull-ups?
Once you string together 8-10 strict pull-ups, several paths open up:
Increase volume. Aim for 15-20 reps in a single set. Build muscular endurance.
Vary your grips. Test chin-ups vs. pull-ups, neutral grip, wide grip. Each variation recruits muscles differently.
Add weight. Use a dip belt or weighted vest. Build raw strength for competition.
Chase advanced skills. Archer pull-ups, typewriter pull-ups, and the muscle-up. Calisthenics never stops.
Ready to start calisthenics? Band-assisted pull-ups are one of the best entry points into serious bodyweight training.