Why train one-arm push-ups?
Why not? This is the ultimate unilateral pressing exercise. No other push-up variation demands as much raw strength. Your working arm handles 100% of your bodyweight while the other one does nothing. It sits at the very top of the push-up pyramid.
Maximum muscle development without equipment. The intensity on a single arm creates a massive growth stimulus for your chest, triceps and shoulders. Few bodyweight exercises can match this level of load.
Total elimination of imbalances. Each arm works completely independently. You cannot compensate with your stronger side. Your weaker arm has no choice but to catch up.
Strength prerequisites for one-arm push-ups
10 clean archer push-ups per arm. If you cannot perform 10 controlled reps on each side, you are not ready. Archer push-ups develop the 70-80% unilateral strength you need before committing to 100%.
30 classic push-ups. A solid bilateral strength base is non-negotiable. If you struggle to chain 30 push-ups, build your overall volume first.
Anti-rotation test: 30-second side plank per side. One-arm push-ups demand extreme trunk rotation resistance. If you cannot hold 30 seconds in a side plank without shaking, your core is not strong enough yet.
Quick test
- 10 archer push-ups per arm with full control
- 30 classic push-ups with clean form
- 30-second side plank per side without trembling
You pass all three? Start the program below. If not, spend 3-4 weeks reinforcing these foundations.
How to do a one-arm push-up: step-by-step technique
Starting position: Feet spread at least shoulder-width apart (wider means more stable). Hand placed directly under your shoulder, fingers turned slightly inward (10-15 degrees). Free arm along your body or behind your back. Body in a straight line.
Descent: Bend your elbow, keeping it at roughly 45 degrees from your body. Lower yourself slowly (3 seconds) until your chest is 5-10 cm from the floor. Your body will naturally want to rotate. Resist that rotation by contracting your obliques and the opposite glute hard.
Critical point: Your free shoulder must not drop toward the floor. Keep both shoulders at the same level by engaging your lateral core. This is THE technical point that separates a real one-arm push-up from a sloppy one.
Push: Exhale and push hard. Your elbow extends fully. Return to the top in about 2 seconds. Keep resisting rotation all the way up.
Breathing: Inhale on the descent, exhale on the push. The intra-abdominal pressure created by proper breathing helps stabilize your trunk.
Common mistakes to avoid
Excessive body rotation. Your torso and hips rotate toward the working arm? You are cheating by redistributing the load. Fix: Spread your feet wider and contract your obliques as if you were resisting a lateral push. If that is not enough, your core is simply not strong enough yet.
Feet too close together. A narrow base of support means maximum instability, which means uncontrollable rotation. Correct execution: feet at least shoulder-width apart. Wrong execution: feet together or nearly together. Widen your base until you can control the rotation.
Misplaced hand. If your hand is too far to the side, you increase the lever arm and the difficulty spikes. Your hand must sit directly under your shoulder, not 20 cm off to the side.
Partial range of motion. Going down halfway is not a one-arm push-up. Your chest must reach 5-10 cm from the floor. If you cannot achieve this, use the assisted progressions rather than cheating on range of motion.
8-week program to unlock your first one-arm push-up
Weeks 1-3: Negatives
- 3 sessions per week
- 4 sets x 3-5 slow negatives (5-second descent) per arm
- 3 minutes rest between sets
- Goal: control the descent perfectly in 5 seconds
Get into the top position on one arm, lower yourself slowly, then push back up with both hands. This phase builds the eccentric strength you need.
Weeks 4-6: Progressive assistance
- 3 sessions per week
- 4 sets x 3-6 reps per arm with assistance (free hand lightly touches the floor or an elevated support)
- 3 minutes rest
- Goal: gradually reduce assistance down to a single finger
Start with your full free hand on the floor for assistance, then 4 fingers, 3 fingers, 2 fingers, 1 finger. When you can do 5 reps with just one finger of assistance, you are ready.
Weeks 7-8: Full reps
- 3 sessions per week
- 3-5 sets x 1-3 reps per arm (full range of motion, zero assistance)
- 4-5 minutes rest between sets
- Goal: achieve 3 clean reps per arm
Assistance variants if you are struggling
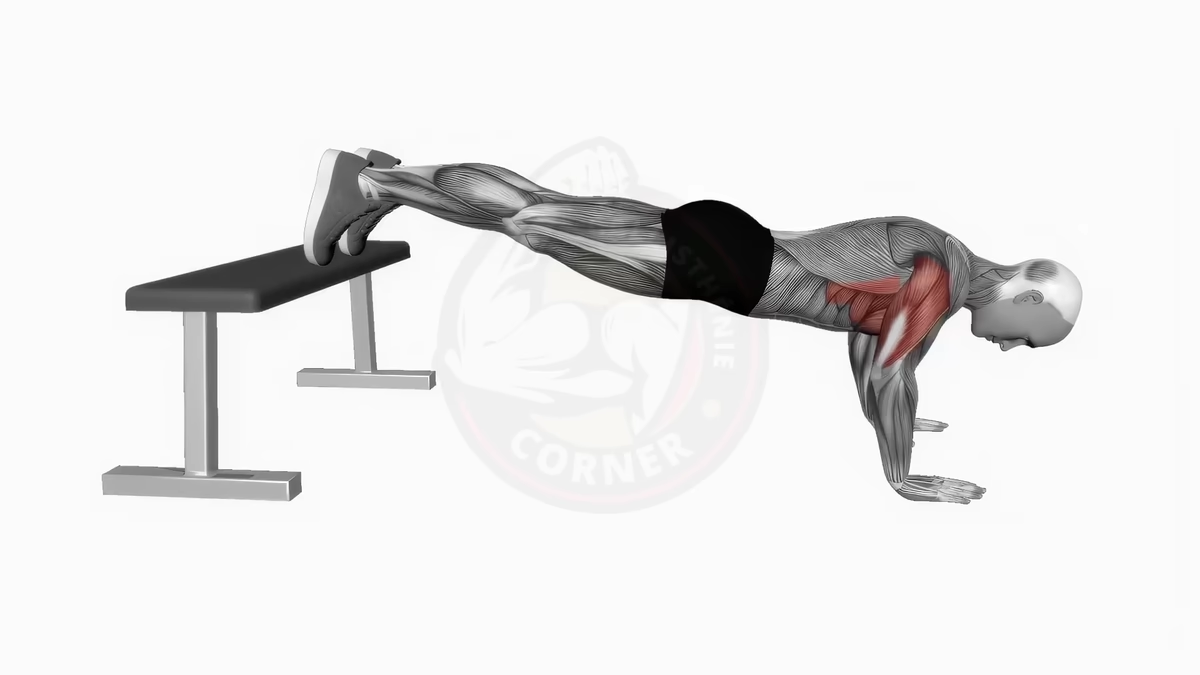
- Elevated one-arm push-ups: hands on a bench, which reduces the load
- Resistance band: attached overhead, supporting your torso
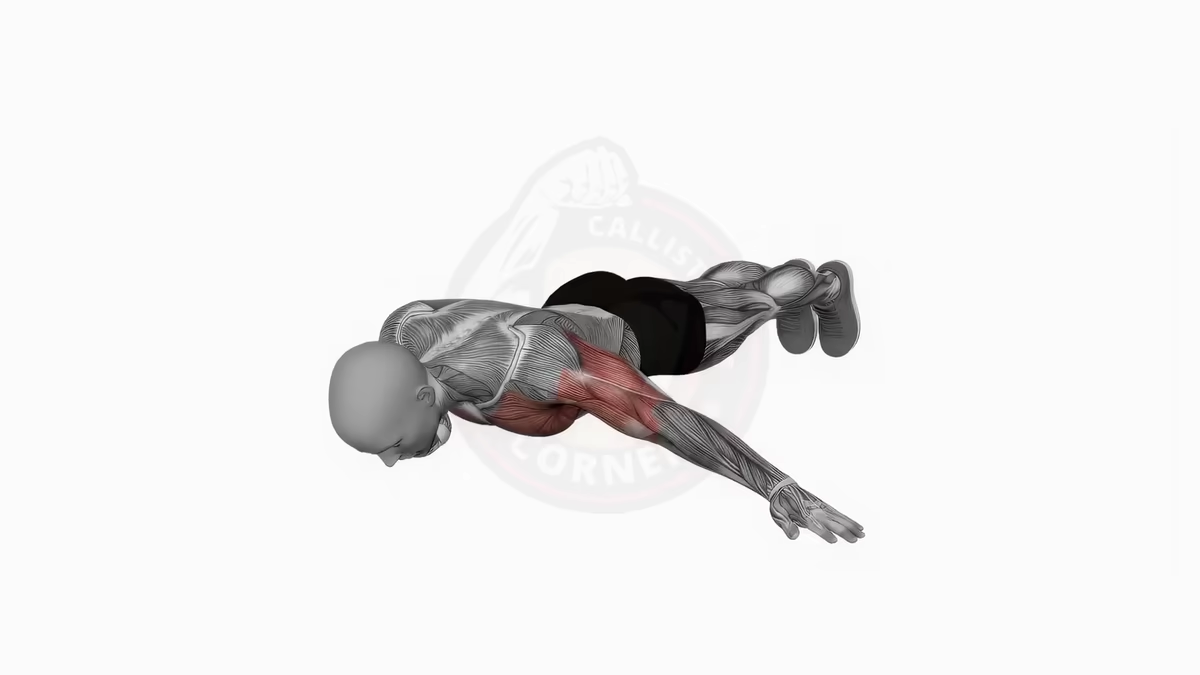
- Archer push-ups with progressive reduction: decrease the support from the extended arm until you remove it entirely
What comes after one-arm push-ups?
Increase volume. Your first one-arm push-up is a major accomplishment, but the next goal is 5 reps, then 10. Add one rep every two weeks. Within 6 months, aim for 3 sets of 5 clean reps on each side.
Decline one-arm push-ups. Feet elevated on a bench. This increases the intensity even further and prepares your body for more vertical pressing movements.
Progression toward handstand push-ups. One-arm push-ups build an enormous pressing strength foundation. The logical next step is to work on handstand push-ups, the ultimate vertical pressing challenge in calisthenics.
Your calisthenics progression never stops. One-arm push-ups are clearly a major milestone, but they are definitely not the finish line.