Why do wall walks?
The wall walk is a calisthenics exercise that takes you from a plank position to a near-handstand against a wall. You start lying face down on the floor, then walk your feet up the wall while your hands move closer to it.
It is the perfect transition exercise. Not ready for a freestanding handstand yet? Wall walks let you develop the strength and control you need in a safe, supported position. Your shoulders learn to support your bodyweight while inverted. Your core gets stronger to maintain alignment. Your coordination improves as you manage your body upside down.
Strength prerequisites
Before jumping into wall walks, make sure you meet these benchmarks:
Pressing strength: 10 pike push-ups with feet elevated to hip height. If you cannot do those yet, work on them first. Your deltoids must be able to press your weight at a near-vertical angle.
Core stability: Hold a 45-second plank without shaking or arching. Your abs and glutes need to keep your body aligned under constant tension.
Hollow hold: 30 seconds with your lower back fully pressed into the floor. This is the position you must replicate during wall walks to protect your lumbar spine.
Final test: Get into a wall handstand and hold for 20 seconds without arching your back. If you can manage that, you have the baseline strength for wall walks.
How to do a wall walk: step-by-step technique
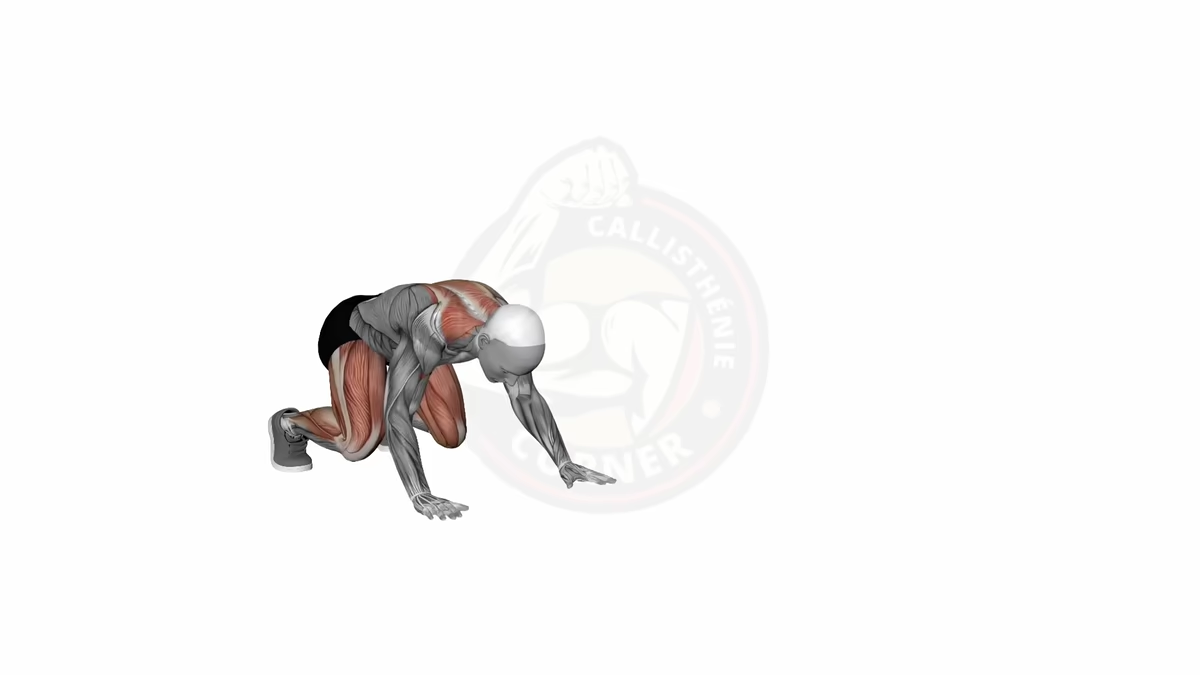
Starting position: Lie face down, hands flat at shoulder level, shoulder-width apart. Your feet should be roughly 30-50 cm from the wall depending on your height.
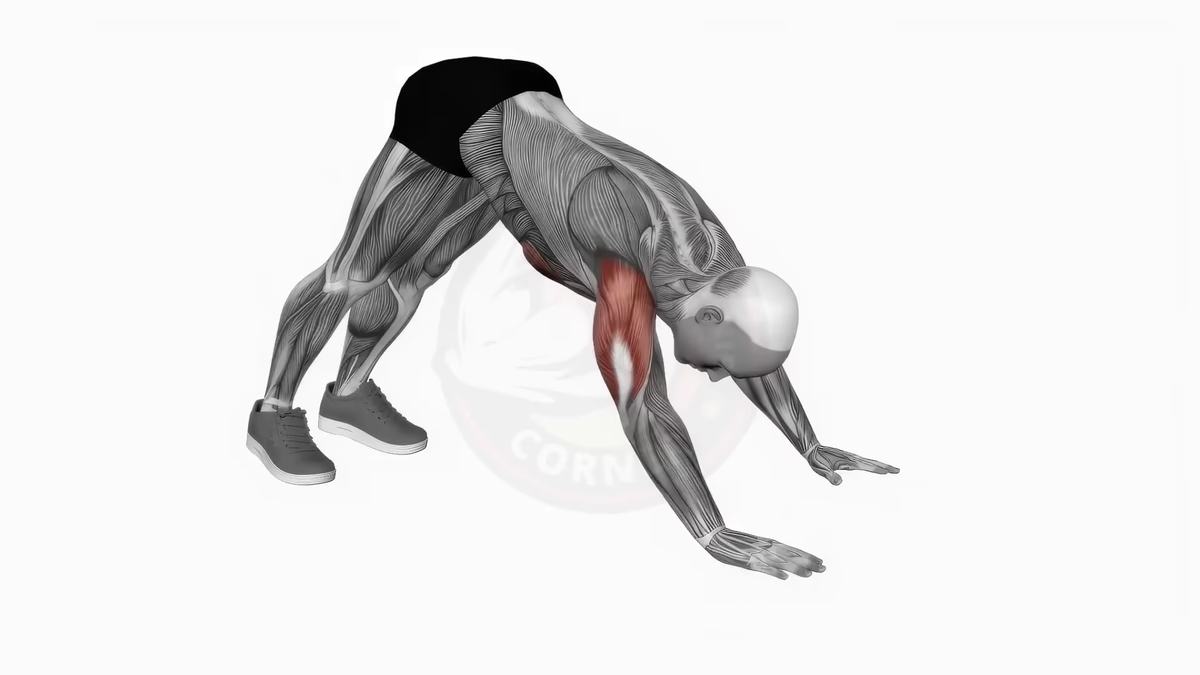
Ascending phase: Push up into a plank position. Place your feet against the wall. Start walking your feet up the wall while your hands move toward it. Take big steps, not small ones. Each step with your feet corresponds to a hand displacement.
Top position: Continue until your nose and toes are nearly touching the wall. Your body forms a straight vertical line. Squeeze your abs and glutes to prevent arching. Look at your hands, not the wall.
Descending phase: Come back down immediately in a controlled manner. Walk your hands away from the wall while your feet descend. Maintain constant core tension. Exhale during the descent to sustain abdominal bracing.
Breathing: Inhale briefly at the top, exhale throughout the entire descent. Never hold your breath.
Critical technique points: Your back must stay neutral from start to finish. Your shoulders remain engaged, never relaxed. Your hips neither pike up nor sag down; they follow the line of your body.
Common mistakes to avoid
Arching your back: This is the most dangerous and most common error. As soon as your core relaxes, your lower back compensates by arching. The result: lumbar pain and injury risk. Fix: Brace your abs and glutes before you even start moving. Think about tucking your chin slightly and pulling your hips away from the wall if you feel your back starting to arch.
Small steps that drain you: Climbing with tiny steps multiplies the transitions and builds unnecessary fatigue in your shoulders. Fix: Plant your first foot high on the wall right from the start. Take big, efficient strides. The fewer steps you take, the better.
Pausing too long at the top: Staying static at the top is a costly mistake. The longer you hold there, the more your muscles fatigue for nothing. Fix: As soon as your nose reaches the wall, immediately begin the descent. The wall walk is a dynamic movement, not a static hold.
Head tilting back: If you look at the wall instead of your hands, your neck hyperextends and your alignment breaks down. Fix: Keep your eyes on your hands or slightly in front of them. Your neck stays neutral, in line with your spine.
8-week training program
Weeks 1-2: Adaptation and progressive amplitude
Mark lines on the floor with tape: line 1 at 50 cm from the wall, line 2 at 70 cm, line 3 at 90 cm, line 4 at 110 cm (full position). Start by climbing only to line 1.
- 3 sessions per week
- 4 sets x 3-4 climbs to line 1-2
- 90 seconds rest between sets
Goal: Maintain perfect core tension up to line 2 without arching.
Weeks 3-4: Full climb
Move on to lines 3 and 4. Work the complete ascent to the wall.
- 3 sessions per week
- 4 sets x 2-3 full wall walks (line 4)
- 2 minutes rest between sets
Goal: 3 consecutive full wall walks with clean technique.
Weeks 5-6: Volume and tempo
Increase the rep count and work on controlled descents.
- 3 sessions per week
- 4 sets x 4-5 wall walks
- Tempo: 3-second ascent, 5-second descent
- 2 minutes rest
Goal: 5 wall walks with ultra-controlled descent, no pausing.
Weeks 7-8: Intensification
Add a hold at the top to prepare for handstand work.
- 3 sessions per week
- 3 sets x 3 wall walks + 10-second hold at the top
- 2-3 minutes rest
Goal: Hold the top position for 10 seconds without shaking.
Variants and progressions
Partial wall walk (easier): If full wall walks are too demanding, use the floor lines. Climb only to line 1 or 2. This is ideal for building strength progressively without burning out your shoulders.
Standard wall walk: The version described above. Nose and toes close to the wall, body aligned. This is the reference version.
Wall walk with hold (5-15 seconds): Add a pause at the top. This strengthens your handstand position and your stability while inverted.
Deficit wall walk: Place your hands on parallettes or elevated supports. This increases the range of motion and difficulty. You work your deltoids and core even harder.
Jump-start wall walk: Instead of climbing progressively, kick your feet directly into the top position in one explosive movement. This version demands both control and power.
What comes next?
Once you have mastered wall walks consistently with clean form and a solid hold at the top, you are ready for the next steps in your inversion journey:
- Freestanding handstand: Transition away from the wall and learn to balance on your hands.
- Handstand push-ups: Add pressing strength while inverted for serious shoulder development.
- Handstand walk: Take your balance to the next level by moving while inverted.
Wall walks are the bridge between floor work and true handstand mastery. Follow the 8-week program, respect the prerequisites, keep your core locked, and the handstand will come.