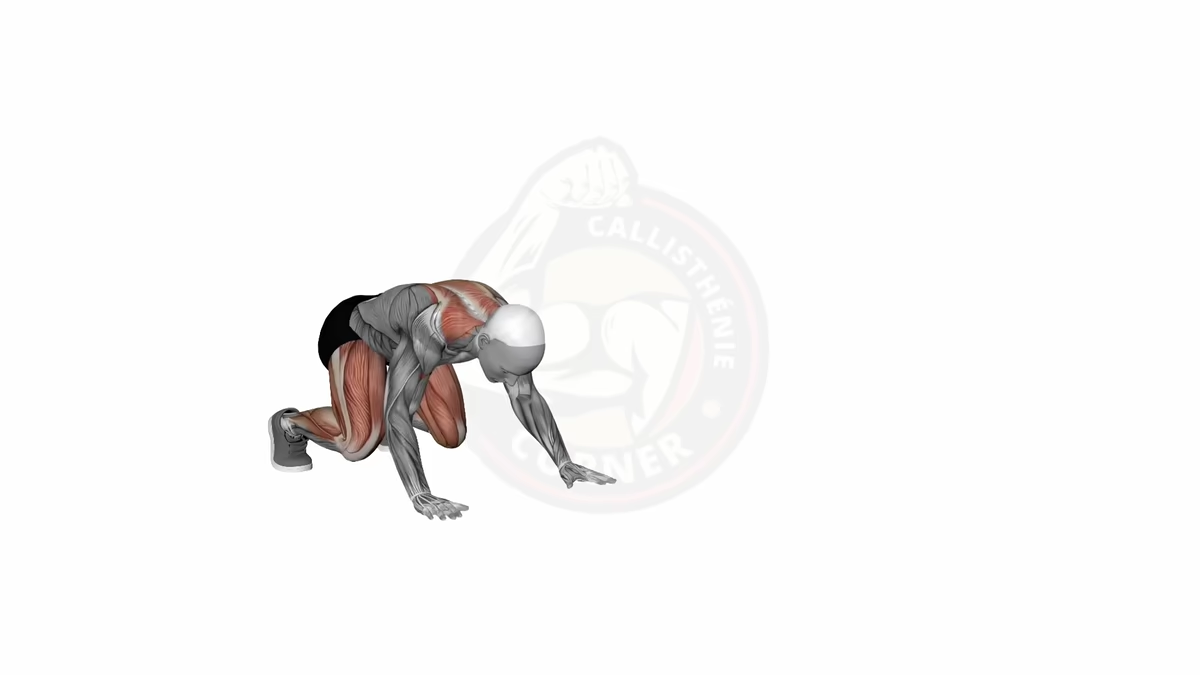
Why do the reverse crunch?
The reverse crunch is a variation of the classic crunch. But here, your pelvis curls up toward your chest, not the other way around. You roll your spine from the bottom up.
This inversion changes everything. With the classic crunch, you mainly work the upper abs. With the reverse crunch, you target the lower portion of the rectus abdominis, that zone between the navel and the pubic bone. This is what’s known as Apollo’s belt, the famous V-line at the bottom of the abs.
Main muscles: The rectus abdominis (particularly its lower portion), the obliques (working in synergy to stabilize the movement), and secondarily the pyramidalis (two small triangular muscles at the bottom of the abdomen) and the hip flexors (which contribute slightly but should not dominate).
In your progression, the reverse crunch sits between the classic crunch and suspended exercises like hanging leg raises. It is an essential step to build solid bodyweight abs.
Strength prerequisites for the reverse crunch
Before tackling the reverse crunch, make sure you meet these criteria:
- Baseline strength: 15 to 20 classic crunches with clean technique.
- Lower back control: Hold your lower back flat on the floor for 30 seconds with bent legs.
- Core hold: 30-second hollow body hold without arching your back.
- Pelvic mobility: Ability to perform a voluntary posterior pelvic tilt (press your lower back into the ground by tilting your pelvis).
If you meet these prerequisites, you are ready. Otherwise, go back to the basics. A poorly executed exercise will not help you progress and may lead to injury.
How to do the reverse crunch: step-by-step technique
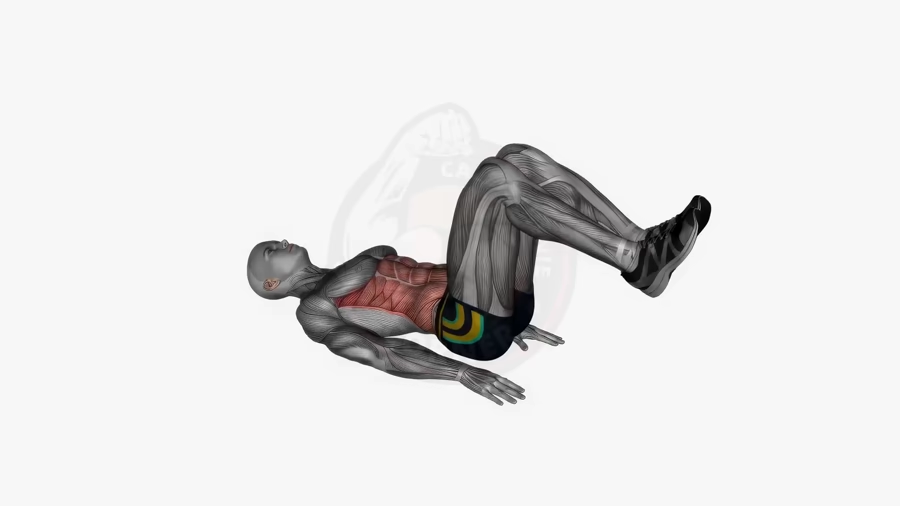
Step 1: Starting position
Lie on your back with legs bent at 90 degrees (thighs perpendicular to the floor, calves parallel). Arms along your body, palms flat on the floor. Your lower back must be in contact with the floor, no gap between your lumbar spine and the ground. Engage your abs to press your lower back down. This is your safety position for the entire exercise.
Step 2: Pelvis curl (concentric phase)
Exhale deeply and contract your abs to curl your pelvis toward your chest. Your hips lift off the floor by a few centimeters. Imagine bringing your pubic bone toward your navel by rolling your spine. The movement is short but intense. Your pelvis initiates the movement, not your legs. No swinging, no momentum.
Step 3: Controlled descent (eccentric phase)
Inhale as you slowly lower your pelvis back toward the floor. Control the descent over 2 to 3 seconds. Your legs return to the starting position (90 degrees). Never completely release the tension in your abs.
Critical technique points
- Curling motion, not simple hip flexion. If your hips do not lift off the floor, you are doing a different exercise.
- Lower back glued to the floor at all times. The moment it arches, you lose tension on the abs.
- Reversed breathing: exhale during the effort (pelvis rising), inhale during the descent.
Mistakes to avoid
Using leg momentum: You swing your legs instead of contracting your abs. Fix: slow down. Take 2 seconds up, 1 second pause, 3 seconds down. If you cannot control this tempo, reduce reps.
Arching your lower back: Your lower back lifts off the floor during the descent, meaning your hip flexors are taking over. Fix: perform a posterior pelvic tilt BEFORE each rep. “Flatten” your back against the floor. If you cannot, go back to classic crunches.
Insufficient amplitude: Your hips never truly lift off the floor. That is hip flexion, not a reverse crunch. Fix: focus on curling your pelvis toward your chest. The movement is short (5 to 10 cm), but the pelvis must genuinely lift.
Neck and shoulder tension: You clench your neck or lift your shoulders to “help.” Fix: keep your head, neck, and shoulders completely relaxed on the floor. Reduce reps or switch to a smaller range of motion if needed.
6-week training program for solid lower abs
Here is a progressive 6-week program to master the reverse crunch and develop your lower abs.
Weeks 1-2: Technical adaptation
- 3 sessions per week (Monday, Wednesday, Friday)
- 3 sets of 8 to 10 reps
- 90-second rest between sets
Goal: Complete 3 sets of 10 clean reps without arching your back.
Weeks 3-4: Consolidation
- 3 sessions per week
- 4 sets of 12 to 15 reps
- 60-second rest between sets
Goal: Reach 4 sets of 15 reps with full range of motion.
Weeks 5-6: Intensification
- 3 sessions per week
- 4 sets of 15 to 20 reps
- Slow tempo: 3 seconds up, 1 second pause, 3 seconds down
- 60-second rest between sets
Goal: Master the slow tempo for 4 sets of 15 reps minimum.
Integrate the reverse crunch into a complete ab program in rotation with varied bodyweight exercises. Do not train abs every day. Leave 48 hours of rest between sessions for muscle recovery.
Variations and progressions
From easiest to hardest, here is how to progress with the reverse crunch.
- Small ROM reverse crunch (beginner): Same technique, reduced amplitude (2 to 3 cm). Learn the curling motion. Target: 3x12 before moving on.
- Classic reverse crunch (90-degree legs): The standard version above. Aim for 4x15-20 clean reps.
- Straight-leg reverse crunch: Legs extended toward the ceiling. Longer lever arm, harder. Start with 3x8-10.
- Incline bench reverse crunch: Lie on a decline bench, head below hips. Reserved for advanced. 3x8-12.
- Weighted reverse crunch: Medicine ball or dumbbell between knees. Expert version for those who master 20+ standard reps.
Progress from one variation to the next only when you have mastered the previous one. Movement quality always comes first.
What comes after the reverse crunch?
You can handle 4 sets of 20 clean reps of the reverse crunch? It is time to level up.
Floor leg raises: Same pelvis-curling principle, but legs start from full extension on the floor. Greater range of motion, increased difficulty.
Hanging leg raises: The king of ab exercises in calisthenics. Hanging from a pull-up bar, you bring your knees (or straight legs) toward your chest. The reverse crunch has prepared you for the pelvic curl this exercise demands.
Abs are not built in a few weeks. The reverse crunch is a powerful tool in your arsenal. Use it correctly, progress methodically, and you will see your lower abs develop. Ready to start calisthenics? The reverse crunch is one of the best entry points.