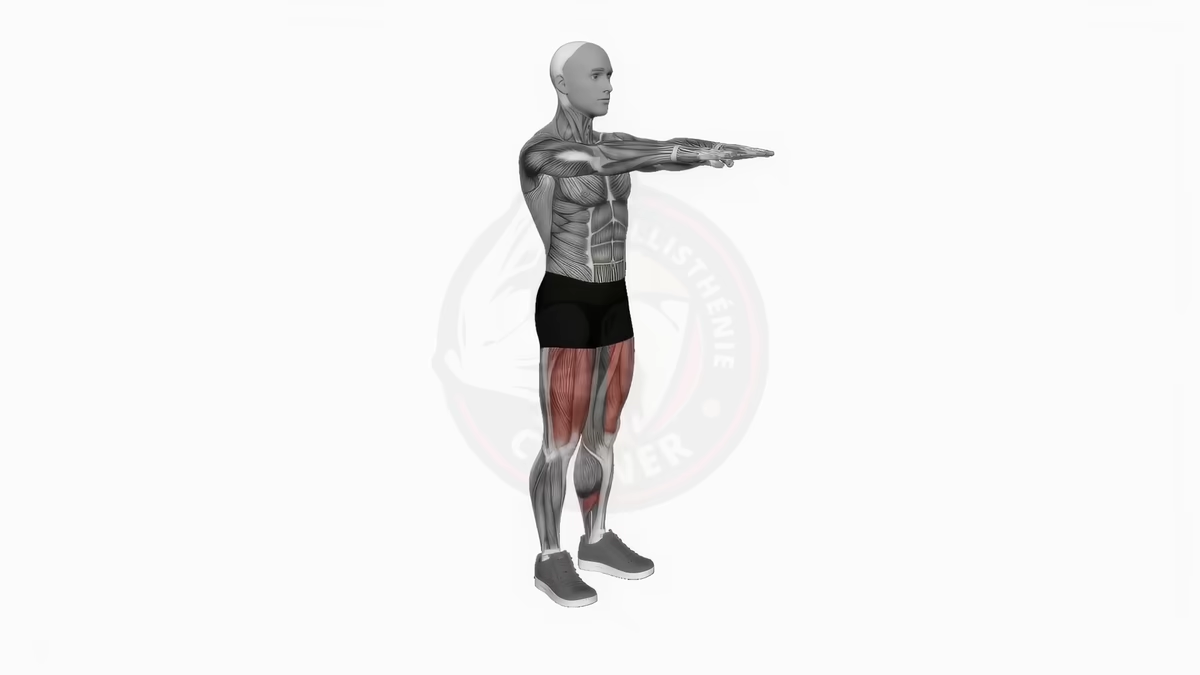
The pistol squat is a full squat performed on a single leg, with the other leg extended horizontally in front of you. Put simply, it’s a single-leg squat. The body position resembles the shape of a pistol, which is where the name comes from.
Here’s the basic execution:
- Stand on one leg, the other leg extended in front of you at hip height.
- Slowly descend by bending the support leg until your thigh touches your calf.
- Rise back up in a controlled manner to the starting position, keeping the free leg in the air.
Unlike a classic squat, the pistol squat demands exceptional mobility in the ankles and hamstrings, combined with considerable single-leg strength. The difficulty lies in maintaining balance while managing your full bodyweight on a single point of contact. If you’re a beginner in calisthenics, you probably can’t do this yet, and that’s completely normal.
This complete guide will walk you through every step you need to unlock the pistol squat.
Benefits and advantages of the pistol squat
The advantages of the pistol squat are wide-ranging and cover multiple aspects of physical fitness.
- Corrects muscular imbalances: the pistol squat lets you identify and fix strength asymmetries between your legs. This is excellent for preventing injuries and optimizing athletic performance.
- Improves balance and proprioception: performing a deep squat on one leg develops these abilities significantly. These qualities transfer directly into daily activities and sports.
- Complete functional strengthening: the pistol squat engages the entire posterior chain while improving overall mobility. It strengthens the stabilizer muscles that are often neglected.
- Develops joint mobility: particularly beneficial for ankle mobility and hamstring flexibility, the pistol squat improves the range of motion required for many movements.
4-step progression to unlock the pistol squat
Mastering the pistol squat requires a methodical, patient progression. Here are the 4 essential steps to get there.
- Assisted squat with chair: start with single-leg squats using a chair placed behind you for safety.
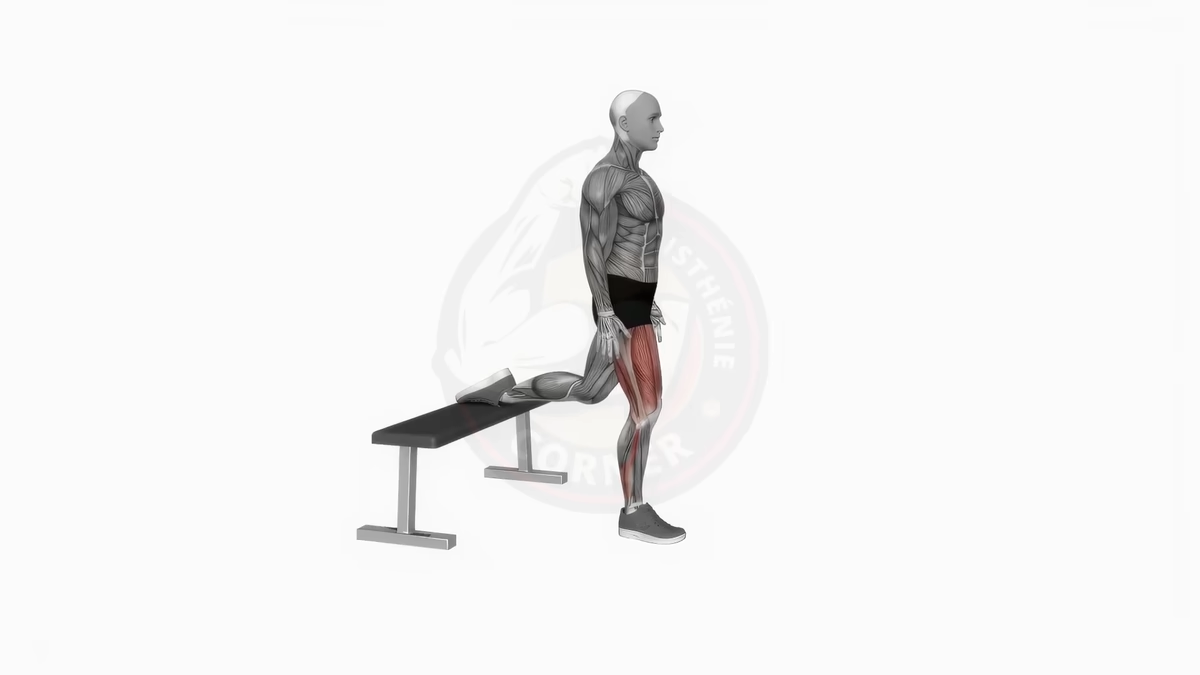
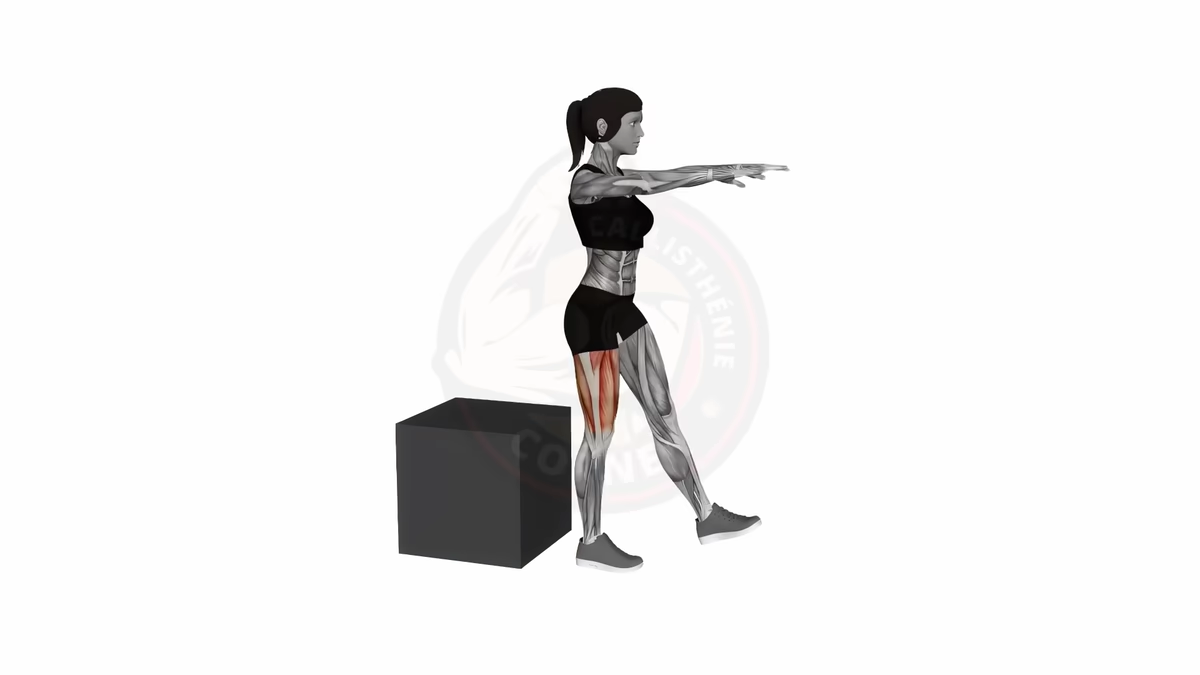
- Controlled step-downs: perform slow descents from a step or box, building eccentric strength.
- Partial pistol squat: work through a reduced range of motion, gradually increasing depth over time.
- Heel-assisted pistol squat: use the heel of your free leg as a temporary support point to complete the full range.
Progression tips:
- Always look straight ahead, never down.
- Brace your abs before initiating the descent.
- Use your toes to grip the floor for better balance.
- Extend your arms forward as a counterbalance.
Complementary exercises
To build the qualities required for the pistol squat, certain complementary exercises are essential.
Classic squats and variations: traditional air squats are the indispensable foundation. They develop general leg strength and basic technique. The goblet squat is particularly useful for working on posture and trunk engagement.
Lunges: lunges in every plane of movement prepare your legs for asymmetric work. They specifically strengthen the stabilizer muscles needed for the pistol squat.
Mobility work:
- Hamstring stretches (seated, standing, and lying down)
- Ankle mobility drills
- Deep squat holds to build range of motion
For beginners in calisthenics, it’s essential to master these foundational movements before attempting the pistol squat.
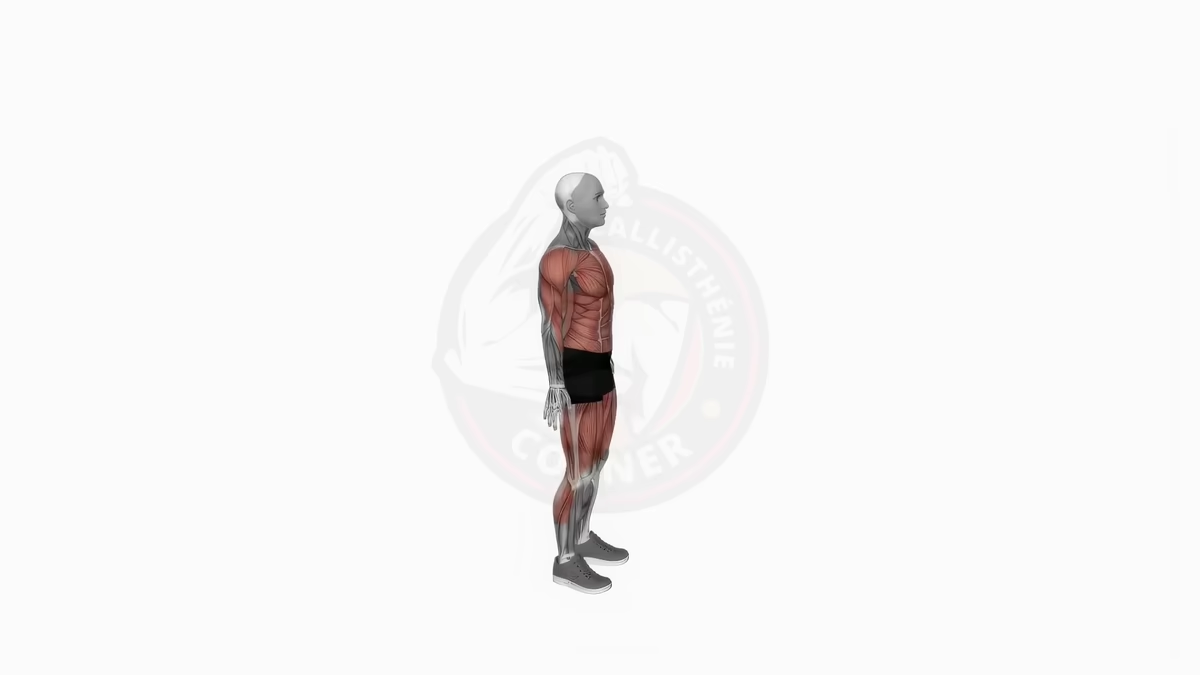
Muscles worked during the pistol squat
The pistol squat is a remarkably complete exercise that engages numerous muscle groups.
Primary movers:
- Quadriceps: responsible for knee extension during the ascent.
- Glutes (gluteus maximus, medius, and minimus): handle hip extension and lateral stabilization.
- Hamstrings: assist the glutes in hip extension.
- Calves (gastrocnemius and soleus): control ankle plantarflexion.
Stabilizers:
- Core muscles: maintain posture and balance throughout the movement.
- Deep hip stabilizers: keep the pelvis stable on a single support point.
- Free leg muscles: hold the extended leg in front of you.
This comprehensive muscular demand makes the pistol squat one of the most effective exercises for developing functional strength.
Risks and safety precautions
While beneficial, the pistol squat presents certain risks that you should know about and prevent. The main concern involves knee health. Deep flexion under load can place significant pressure on the knee structures, particularly the menisci. The risk is especially high at the posterior horn of the medial meniscus, which can be compressed and sheared during the movement.
Warning signs to watch for:
- Cracking or popping sensations during the exercise
- Swelling that worsens in the 1-2 days following training
- Locking or catching sensations in the knee
Injury prevention:
- Progress very gradually in both range of motion and intensity.
- Complete a thorough warm-up before every session.
- Stop immediately at the first sign of joint pain.
- Strengthen the stabilizer muscles beforehand.
Pistol squat variations
Several variations let you adapt the exercise to different levels and goals.
Assisted pistol squat
This version uses external support to make balancing easier and reduce the load. You can hold onto a bar, use straps, or simply place a hand on a wall or any stable surface to get started.
Elevated surface pistol squat
By placing your support foot on a raised surface, you reduce the range of motion required for the free leg. This variant is ideal for people lacking hamstring flexibility.
Chair pistol squat
Place a chair behind you to limit the descent. Start by sitting down fully, then progress to a light touch before eventually eliminating the support entirely.
Shrimp squat
The shrimp squat is an advanced variant where the free leg is bent backward and held with the hand. This even more demanding position challenges the muscles and balance differently.
Tips for performing the pistol squat
- Heel wedges: using wedges or weightlifting shoes can compensate for limited ankle mobility.
- Arm position: extend your arms forward to create a counterweight and improve balance.
- Core engagement: deeply brace your abs before every rep.
- Controlled tempo: prioritize a slow descent (3-4 seconds) to develop eccentric strength.
Bottom-up method: an effective approach is to start from the bottom position. Sit on the ground with one leg bent and the other extended, then work on the ascent. This method specifically builds strength in the hardest part of the movement.
Common mistakes to avoid
- Looking down: this disrupts balance and encourages poor posture.
- Skipping the warm-up: insufficient warm-up increases injury risk significantly.
- Forcing range of motion: going deeper than your current capacity compromises technique.
- Ignoring pain: any joint pain should result in an immediate stop.
Progression errors:
- Rushing through the progression steps.
- Neglecting mobility work.
- Pushing through despite persistent technical difficulties.
Pistol squat vs classic squat
| Criteria | Pistol Squat | Classic Squat |
|---|---|---|
| Number of legs | Unilateral (1 leg) | Bilateral (2 legs) |
| Difficulty | Very high | Moderate to high |
| Balance required | Very important | Moderate |
| Mobility needed | Exceptional | Standard |
| Loading potential | Bodyweight only | Heavy loads possible |
| Stabilizer demand | Very high | Moderate |
The pistol squat is a natural evolution of the classic squat, adding unique challenges in balance and coordination. Unlike jump squats that develop explosive power, the pistol squat prioritizes control and raw strength.
Programming the pistol squat
- Beginners: 2-3 times per week, 3-5 reps per leg
- Intermediate: 3-4 times per week, 5-8 reps per leg
- Advanced: 4-5 times per week, 8-12 reps per leg
Session placement: put pistol squat work at the beginning of your session, right after the warm-up, when your nervous system is fresh. This technical exercise demands maximum concentration.
Pair it with complementary lower-body work like air squats, lunges, or wall sits for a well-rounded leg session.
Frequently Asked Questions
How long does it take to learn pistol squats?
Most people need 3 to 6 months of consistent training to achieve their first clean pistol squat. The timeline depends heavily on your starting level of leg strength, ankle mobility, and hamstring flexibility. If you already have a solid squat foundation and decent mobility, you could get there faster. If you are starting from scratch, expect closer to 6 months or more with dedicated practice.
Are pistol squats bad for your knees?
Pistol squats are not inherently bad for healthy knees. The deep flexion under load does place increased pressure on the knee structures, particularly the menisci. The key is to progress gradually, warm up thoroughly, and stop immediately if you feel joint pain (not to be confused with muscular fatigue). If you have existing knee issues, consult a professional before attempting them.
What muscles do pistol squats work?
The primary muscles are the quadriceps, glutes (maximus, medius, and minimus), hamstrings, and calves. The core muscles work hard to maintain balance and posture on a single leg. The hip stabilizers and the muscles of the extended free leg are also heavily engaged, making the pistol squat one of the most complete lower-body exercises you can do.
Can you learn pistol squats without weights?
Absolutely. The pistol squat is a bodyweight exercise by nature. The standard progression uses only your body: assisted squats with a chair, controlled step-downs from a box, partial range of motion pistol squats, and heel-assisted reps. Resistance bands can help by providing assistance during the ascent, but no external weights are required at any point in the learning process.
What is the difference between a pistol squat and a shrimp squat?
Both are single-leg squats, but the free leg position differs. In a pistol squat, the free leg extends forward in front of you, demanding significant hamstring flexibility. In a shrimp squat, the free leg bends backward and is held by the hand, placing more emphasis on quad strength and knee flexion. Both are advanced exercises that complement each other well.