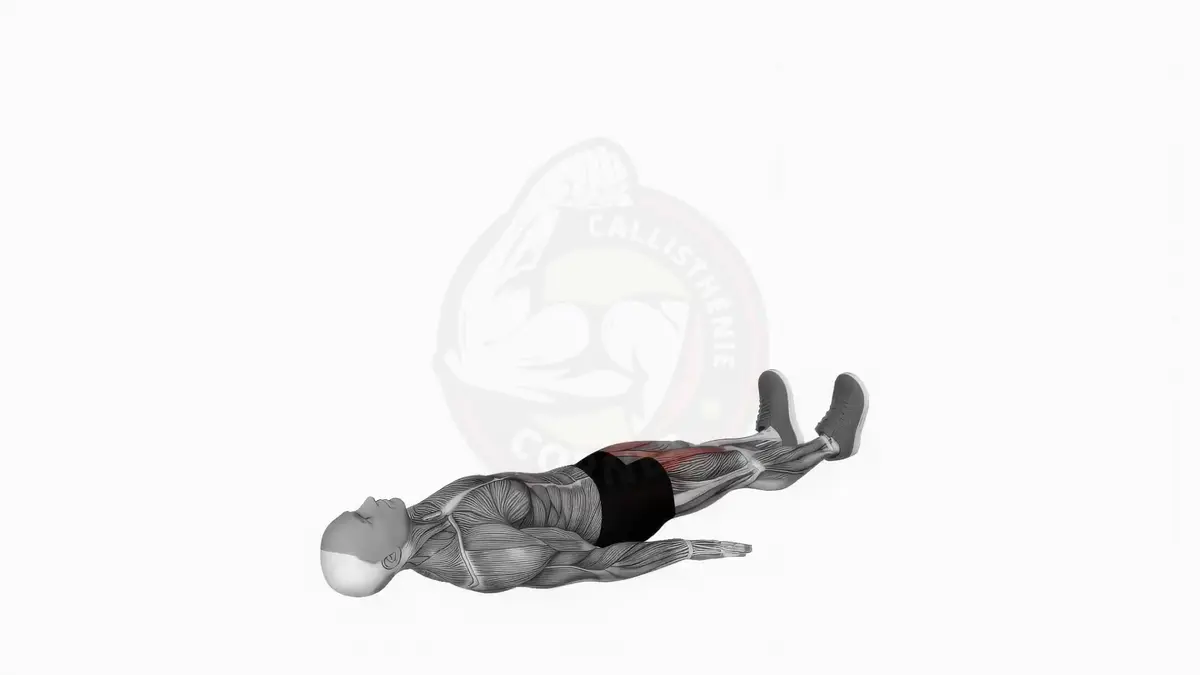
Leg raises are one of the most effective exercises for building lower abdominal strength. You lie on the floor, extend your legs, raise them to 90 degrees and lower them under control. Simple in concept, demanding in execution. If you want real lower abs development, this exercise should be in your program.
Why do leg raises?
Most ab exercises involve flexing the spine: crunches, sit-ups, cable crunches. Leg raises work differently. Your spine stays stable on the floor while your legs move through a full range of motion. This is called an anti-extension pattern, and it is one of the most functional ways to train the core.
Your abs have to resist the pull of gravity on your legs during the lowering phase, which creates intense tension through the lower portion of the rectus abdominis. Unlike crunches that primarily hit the upper abs, leg raises load the lower fibers that most people struggle to develop.
Muscles targeted
- Rectus abdominis (emphasis on the lower portion)
- Hip flexors (psoas, iliacus)
- Obliques and transverse abdominis as stabilizers
A stepping stone to advanced skills
Leg raises are not just an exercise in isolation. They build the foundation for more advanced movements:
- Hanging leg raises on the pull-up bar
- Dragon flag on a bench
- Windshield wipers and other advanced core patterns
Master the floor version first, and these progressions become achievable.
Prerequisites before you start
Before jumping into leg raises, make sure you can pass these four checkpoints:
- 45-second plank with no hip sag
- 20-second hollow hold with lower back pressed to the floor
- 3 x 15 knee tuck raises with controlled tempo
- Pelvic tilt test: lying on your back, can you flatten your lower back completely to the floor by engaging your abs? If you cannot maintain this position, start with dead bugs and hollow hold progressions first.
These prerequisites ensure your core is strong enough to protect your lower back during the exercise.
Technique: step by step
Step 1: Set up
Lie on your back with your arms at your sides, palms flat on the floor. For extra support, place your hands under your glutes. Flatten your lower back to the floor by engaging your abs and performing a slight posterior pelvic tilt. This is your non-negotiable starting position.
Step 2: Raise your legs
Exhale and raise both legs toward the ceiling, keeping them straight with toes pointed toward you. Aim for a full 90-degree angle between your legs and your torso. The upward phase should take about 2 seconds. Keep the movement smooth, no kicking or jerking.
Step 3: Lower with control
Inhale and lower your legs slowly over 3 seconds. This is where the real work happens. Stop lowering the moment you feel your lower back starting to lift off the floor. That point is your safe limit for today. Over weeks of training, this range will increase as your abs get stronger.
The critical rule
Your lower back must never lift off the floor during the entire set. The moment your back arches, the load transfers from your abs to your hip flexors and lumbar spine. If you cannot keep your back flat through the full range of motion, reduce the range by stopping your legs higher on the descent.
Common mistakes
Back arching during the descent: The number one error. When your lower back peels off the floor, the psoas takes over and your abs disengage. Shorten your range of motion until your core is strong enough to maintain contact throughout.
Using momentum: Swinging your legs up or letting them drop on the way down eliminates the tension that makes this exercise effective. Every inch of movement should be deliberate and controlled.
Going too low: Lowering your legs all the way to the floor before you have the strength to control the movement is a recipe for lower back strain. Only go as low as you can while keeping your back flat.
Not reaching 90 degrees on the way up: If your legs stop short of vertical, you are cutting the range of motion and reducing the effectiveness. Aim for full 90-degree hip flexion on every rep.
6-week training program
| Weeks | Sets x Reps | Tempo | Rest | Notes |
|---|---|---|---|---|
| 1-2 | 3 x 8-10 | Controlled | 90 seconds | Reduced range of motion, stop legs at 30-45 degrees from floor |
| 3-4 | 4 x 12-15 | 2s up, 2s down | 60 seconds | Full range, reach 90 degrees and lower to 30 cm from floor |
| 5-6 | 4 x 10-12 | 2s up, 2s pause, 3s down | 60 seconds | Add a 2-second isometric pause at the top of each rep |
Train leg raises 2 to 3 times per week. Allow at least one rest day between sessions to let the muscles recover.
Variations
Bent-knee leg raises (easier): Bend your knees to 90 degrees and raise your knees toward your chest instead of lifting straight legs. This shortens the lever arm and makes the exercise significantly more manageable for beginners. Ideal if you cannot keep your back flat during the full version.
Straight-leg raises (standard): The version described in the technique section. Legs fully extended throughout the movement.
Slow tempo leg raises: Use a 3-2-3 tempo: 3 seconds up, 2-second pause at the top, 3 seconds down. This dramatically increases time under tension and makes a set of 8 feel like a set of 15.
Isometric pause leg raises: Hold your legs at the top position (90 degrees) for 5 to 10 seconds before lowering. Builds the static strength that transfers directly to hanging leg raises.
Banded leg raises (advanced): Loop a light resistance band around your feet and anchor it behind you. The band pulls your legs toward the floor, increasing the resistance during the lowering phase where the abs work hardest.
What comes after leg raises?
Once you can complete 4 sets of 12 with a 2-second pause at the top and a 3-second descent, all with your lower back glued to the floor, you are ready to progress.
Hanging leg raises: Move the exercise to the pull-up bar. The hanging position removes the floor as a reference point, demanding far more core control and grip strength. This is the natural next step.
Dragon flag: The ultimate expression of the anti-extension strength you built with leg raises. Instead of moving just your legs, you hold your entire body rigid on a bench with only your shoulders as the pivot point.
Building a complete core routine: Combine leg raises with complementary exercises for full abdominal development:
- Plank: 3 x 30-45 seconds for isometric endurance
- Russian twists: 3 x 15 per side for rotational strength
- Crunches: 3 x 15-20 for upper rectus abdominis
This combination covers every function of the core: anti-extension (leg raises), anti-flexion (plank), rotation (russian twists) and spinal flexion (crunches).
Leg raises are simple, effective and scalable. Master the floor version, progress through the variations, and build the lower ab strength that will unlock more advanced calisthenics movements down the line.