The air squat is the most natural strength movement the human body can perform. You bend your hips and knees as if sitting on an invisible chair, then stand back up. No barbell, no rack, no equipment. Just your bodyweight, gravity, and proper technique.
Also called the bodyweight squat, this movement has been popularized by CrossFit but predates any training system. It is a fundamental human movement pattern that develops lower-body strength, hip mobility, and coordination. Whether you are a complete beginner or an experienced athlete, the air squat belongs in your training.
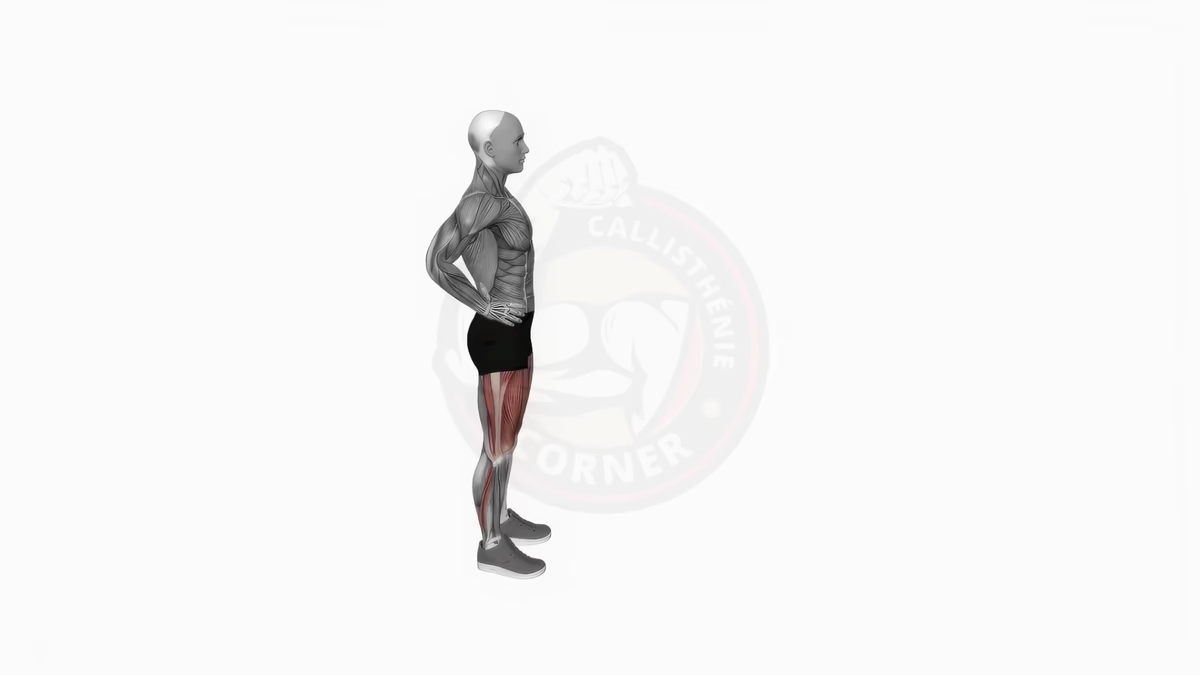
Muscles worked during the air squat
The air squat is a compound movement that recruits the entire lower body.
Primary movers:
- Quadriceps: the main engine of the movement. They extend the knee during the ascent and control the descent eccentrically.
- Glutes (gluteus maximus, medius, and minimus): responsible for hip extension as you stand up. The gluteus medius and minimus also stabilize the pelvis and prevent the knees from collapsing inward.
- Hamstrings: assist hip flexion during the descent and stabilize the knee joint throughout the movement.
Stabilizers:
- Core (rectus abdominis, obliques, erector spinae): maintains an upright torso and protects the spine under load.
- Adductors: stabilize the legs and keep the knees tracking over the toes.
- Calves (gastrocnemius, soleus): maintain balance and contribute to propulsion during the ascent.
This makes the air squat a full lower-body exercise, not just a quad movement. Pair it with the glute bridge to build a well-rounded leg foundation.
Perfect air squat technique
Before adding reps or speed, own the movement. One controlled squat is worth twenty bouncy ones.
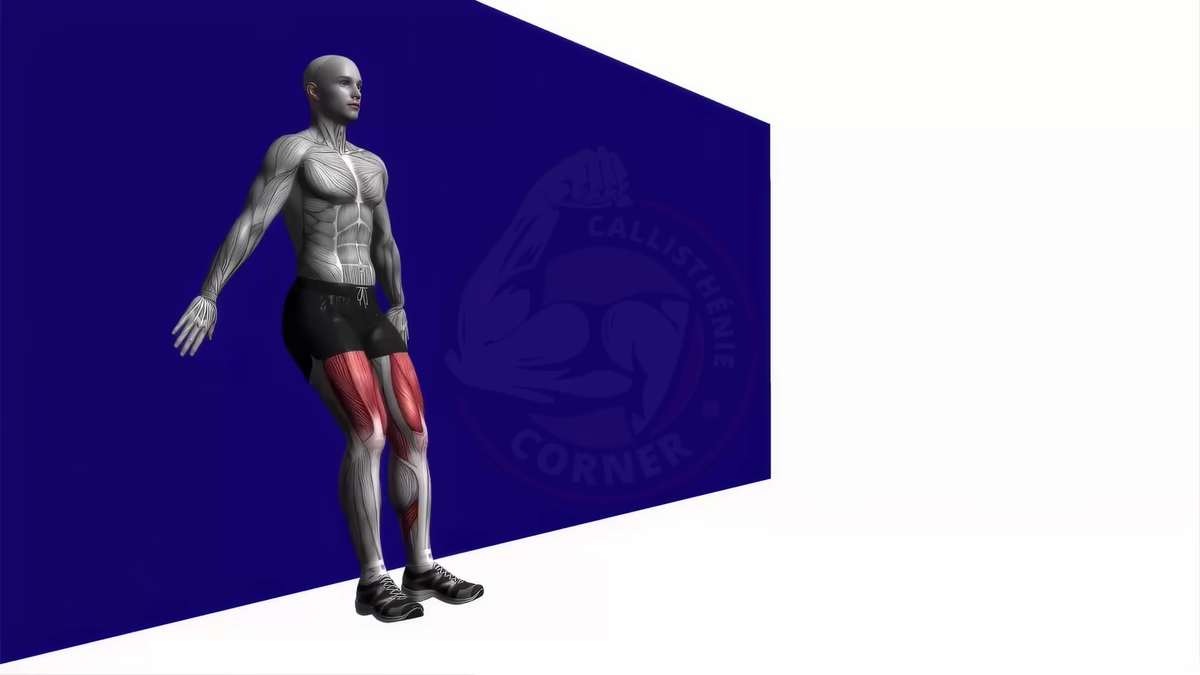
Setup
- Feet shoulder-width apart, toes pointed out 15 to 30 degrees.
- Torso upright, shoulders pulled back, chest open.
- Eyes fixed on a point straight ahead, not down at the floor.
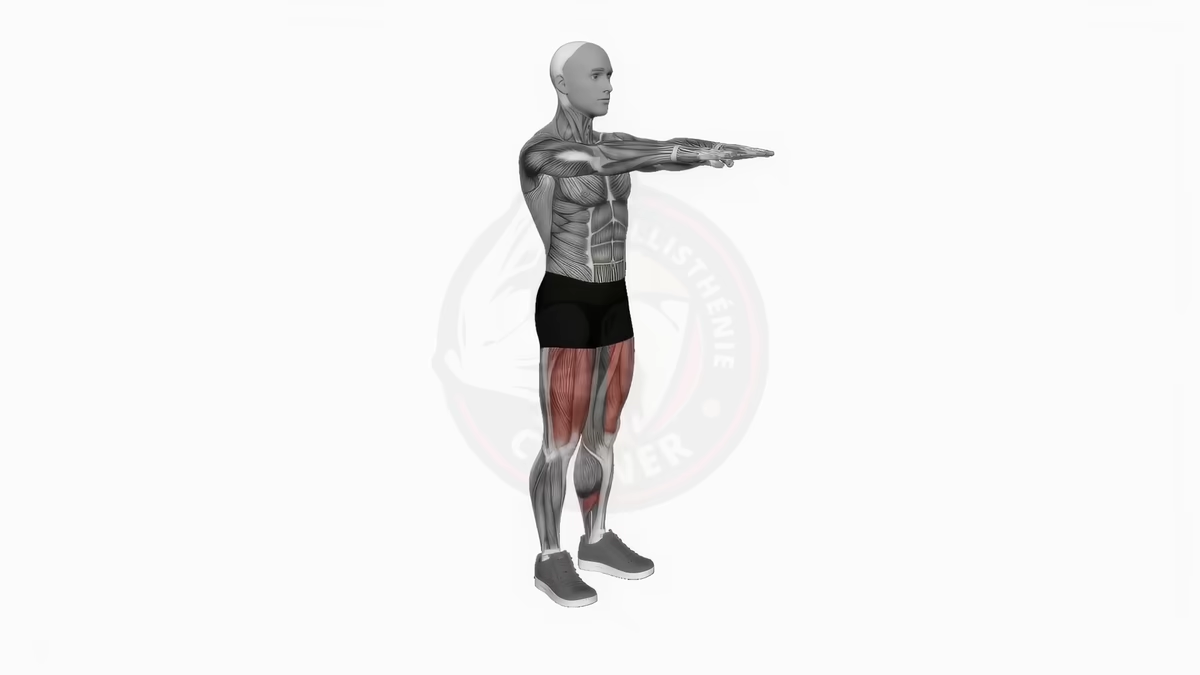
- Arms extended in front for counterbalance, or crossed over the chest.
Execution
1. Initiate with the hips: push your hips back and down, as if you are sitting into a chair behind you. This loads the glutes and hamstrings from the start.
2. Descend: bend your hips and knees simultaneously. Keep your weight on your heels and midfoot. Your knees should track over your toes without drifting inward.
3. Bottom position: descend until your thighs are at least parallel to the floor. Going slightly below parallel is even better for hip mobility and glute activation, as long as you maintain a neutral spine.
4. Ascend: push through your heels to stand up. Drive the floor away with your feet rather than pulling your body upward. This cue shifts the effort to your glutes and quads instead of your lower back.
Breathing
Inhale on the way down. Exhale on the way up. Never hold your breath during high-rep sets.
Pro tip: think about “spreading the floor apart” with your feet as you descend. This external rotation cue naturally activates the glutes and prevents knee valgus.
5 common mistakes and how to fix them
1. Rounding the back
The problem: your lower back rounds at the bottom of the squat, placing excessive stress on the lumbar spine.
The fix: brace your core before descending. Keep your chest up and eyes forward. If you cannot maintain a flat back at full depth, reduce range of motion and work on hip mobility.
2. Knees collapsing inward (valgus)
The problem: your knees cave inward, especially during the ascent. This places dangerous shear forces on the knee joint.
The fix: focus on pushing your knees out over your toes. The “spread the floor” cue works well here. Strengthen your hip abductors with lateral band walks.
3. Weight shifting to the toes
The problem: your heels lift off the floor, shifting the load to the toes and overloading the knees.
The fix: sit back into the squat. You should be able to wiggle your toes at the bottom of the movement. Tight calves or limited ankle mobility are often the root cause: stretch them daily.
4. Insufficient depth
The problem: you stop well above parallel, turning the squat into a quarter squat. This limits glute and hamstring activation.
The fix: use a box or chair as a depth target. Sit down fully, then stand up. Gradually lower the target height until you reach parallel or below.
5. Too fast, no control
The problem: bouncing at the bottom to use momentum instead of muscular strength. This reduces time under tension and increases injury risk.
The fix: use a 2-1-1 tempo. Two seconds down, one-second pause at the bottom, one second up. Control every inch of the movement.
Benefits of the air squat
Functional strength: the squat pattern appears in daily life constantly. Getting up from a chair, picking up objects, climbing stairs. Training this pattern makes everything easier.
Improved mobility: regular squatting maintains and improves hip, knee, and ankle flexibility. Populations that squat daily throughout life maintain full range of motion well into old age.
Foundation for advanced exercises: the air squat is the gateway to pistol squats, jump squats, and weighted squats. Without a solid bodyweight squat, every advanced leg exercise will be compromised.
Balance and proprioception: maintaining stability through a full range of motion trains your nervous system, not just your muscles.
Injury prevention: strengthening the muscles, tendons, and ligaments around the knee and hip reduces injury risk in sports and daily activities. The air squat also reinforces your core stability, which protects the spine.
Progressions and variations
Beginner
- Box squat: squat down to a box or chair, sit briefly, then stand. This teaches proper depth and builds confidence. Lower the box height as you improve.
- Goblet squat: hold a light weight at chest level. The counterbalance makes it easier to maintain an upright torso and reach full depth.
Intermediate
- Jump squat: perform a full air squat, then explode upward into a jump. Land softly and immediately descend into the next rep. Builds explosive power.
- Jump squat with rotation: add a 180-degree turn at the top of each jump. Develops coordination and rotational stability.
Advanced
- Pistol squat: the single-leg squat. Requires exceptional strength, balance, and mobility. The ultimate bodyweight leg exercise.
- Bulgarian split squat: rear foot elevated on a bench or step. Intense unilateral work for quads and glutes with greater range of motion than a standard squat.
The wall sit is also an excellent complement: it builds isometric quad endurance that carries over directly to your squat hold strength.
Who should be cautious
The air squat is safe for most people, but certain conditions require attention:
- Knee issues: if you have existing knee pain, start with partial range of motion and progress gradually. Consult a physiotherapist if pain persists.
- Lower back problems: focus on core bracing and avoid rounding your back. Box squats are a good starting point.
- Ankle mobility limitations: elevated heel squats (heels on a small plate) can compensate while you work on ankle flexibility.
If any variation causes sharp pain, stop and seek professional guidance. Discomfort in the muscles is normal. Pain in the joints is not.
For a complete quad training plan, check our quad exercises at home guide.
Frequently Asked Questions
What is the difference between a squat and an air squat?
An air squat is simply a squat performed with bodyweight only, no barbell, dumbbells, or other external load. The movement pattern is identical: you bend your hips and knees to lower your body, then stand back up. “Air squat” is the term commonly used in CrossFit and calisthenics to distinguish the bodyweight version from loaded variations like the back squat or goblet squat.
How many air squats should I do per day?
For strength building, 3 to 4 sets of 15 to 20 reps, 3 times per week is effective. If your goal is mobility maintenance, a single set of 20 reps daily works well. Once you can easily complete 4 sets of 20 with perfect form, it is time to progress to harder variations like jump squats or pistol squats rather than adding more reps.
Do air squats build muscle?
Air squats build muscle effectively in beginners and untrained individuals. As you get stronger, bodyweight alone becomes insufficient for continued muscle growth. At that point, progressing to single-leg variations like the pistol squat, adding tempo work (3 seconds down, 1 second pause), or incorporating jump squats provides the increased stimulus needed to keep building.
The air squat is the foundation of all lower-body training in calisthenics. Master it with perfect form, progress through the variations, and your legs will be ready for anything.