Skills
How to Master the Handstand Walk
The handstand walk is a serious challenge for many athletes. This advanced skill demands strength, balance and coordination. Whether you are a beginner in calisthenics or an experienced athlete looking to refine your technique, this guide will walk you through every step towards mastering the handstand walk.
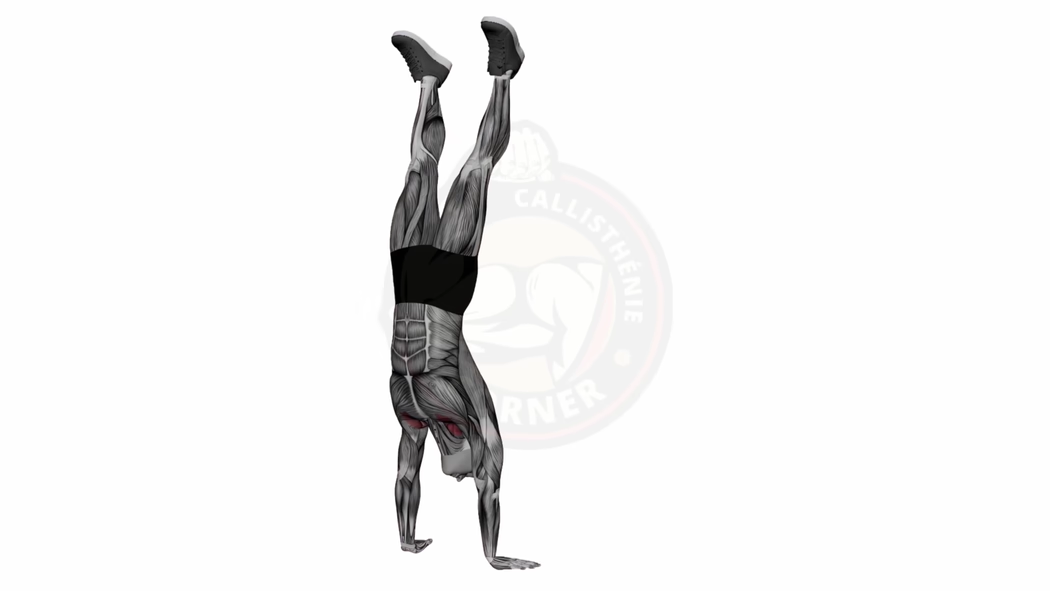
Here you will find the physical prerequisites, progression steps and specific exercises to effectively integrate this skill into your training. But first things first: you need to master the handstand before reading any further.
Physical prerequisites for the handstand walk
Before diving into handstand walk training, it is essential to develop certain fundamental physical abilities. These prerequisites let you approach the exercise safely and optimise your progression.
Shoulder strength and stability: the foundation
Shoulder strength and stability are paramount for maintaining an inverted position and controlling your movements during the handstand walk. The primary muscles involved are the deltoids, trapezius and shoulder rotators. To strengthen these muscle groups, integrate exercises such as push-ups, overhead presses and lateral raises into your routine.
Core mobility and control: the keys to balance
Good shoulder mobility combined with effective core control is indispensable for maintaining body alignment in the inverted position. Work on your flexibility with targeted stretches and strengthen your midsection with exercises like planks and hollow holds. These elements will help you maintain a stable, aligned posture during the handstand walk.
| Prerequisite | Importance | Recommended Exercises |
|---|---|---|
| Shoulder strength | High | Push-ups, overhead presses |
| Core stability | High | Planks, hollow holds |
| Shoulder mobility | Medium | Stretches, band dislocations |
Progression from static handstand to handstand walk
Once the basics are in place, it is time to progress towards the handstand walk. This transition requires a methodical and progressive approach to develop the necessary skills safely.
From wall to floor: safe transition steps
Start by mastering the handstand against a wall. This step lets you build the endurance and stability you need without the risk of falling. Gradually move away from the wall to gain independence. Here are the key stages of this progression:
Wall handstand, chest to wall
Face the wall, walk your feet up. Focus on alignment and building endurance in the inverted position. Hold for 30 to 60 seconds.
Wall handstand, back to wall
Kick up with your back towards the wall. This teaches you the kick-up and gives you a safety net. Work on keeping your body straight.
Handstand a few centimetres from the wall
Position yourself close to the wall but try not to touch it. The wall is there as a backup, not a crutch. Practice holding for 10 to 20 seconds without contact.
Freestanding handstand with a spotter
Move away from the wall entirely. A training partner lightly assists your balance while you develop confidence and control in the open.
Freestanding handstand without assistance
No wall, no spotter. Hold a solid freestanding handstand for at least 10 to 15 seconds before attempting to walk.
Movement techniques: from static to dynamic
Once you have mastered the static handstand, introduce movement progressively. Start with small hand shifts, then gradually increase the distance covered. Focus on maintaining body alignment and a controlled weight transfer from one hand to the other.
Specific exercises to strengthen handstand walk muscles
To progress efficiently in the handstand walk, you need to strengthen the specific muscles involved in this movement. Here is a selection of targeted exercises to improve your performance.
Targeted reinforcement: shoulders, core and wrists
The shoulders, core and wrists play a central role in executing the handstand walk. Add these exercises to your routine for optimal reinforcement:
| Target Area | Exercise | Benefits |
|---|---|---|
| Shoulders | Pike push-ups | Strengthens pushing power in the inverted position |
| Core | L-sits | Improves trunk stability |
| Wrists | Wrist push-ups | Increases wrist strength and mobility |
Proprioception drills to improve balance
Proprioception, or body awareness in space, is essential for maintaining balance during the handstand walk. Practice these exercises to sharpen your sense of equilibrium:
- Handstand holds with leg position variations: In a wall handstand, alternate between legs together, straddle and single-leg positions. Each variation shifts your centre of gravity and teaches you to adapt.
- Single-hand balance on the floor: From a plank position, lift one hand off the ground and hold for 5 to 10 seconds per side. Progress to doing this in a wall handstand.
- Weight transfers in plank position: In a high plank, slowly shift your weight from one hand to the other without moving your feet. This mimics the lateral shift of the handstand walk.
Integrating the handstand walk into a training program
Planning and periodisation
Incorporate handstand walk practice progressively into your routine. Start with short, frequent sessions, then gradually increase volume and intensity. Here is a sample 4-week plan:
| Week | Session Format | Frequency |
|---|---|---|
| Week 1 | 3 x 5 minutes of technique practice | 2 times per week |
| Week 2 | 3 x 7 minutes of technique practice | 3 times per week |
| Week 3 | 4 x 7 minutes of technique practice | 3 times per week |
| Week 4 | 4 x 10 minutes of technique practice | 3 times per week |
WOD incorporation: practical examples
Integrate the handstand walk into your WODs (Workouts of the Day) to improve your endurance and technique under fatigue. Here are some ideas:
- EMOM (Every Minute On the Minute): Alternate 1 minute of handstand walk with 1 minute of another exercise (push-ups, squats, etc.).
- For Time: Include handstand walk sections between other movements. For example: 5 rounds of 10-metre handstand walk + 10 push-ups + 15 squats.
- AMRAP (As Many Rounds As Possible): Add short handstand walk distances into a circuit. For example: in 12 minutes, complete as many rounds as possible of 5-metre handstand walk + 10 sit-ups + 5 burpees.
Common mistakes and solutions
Even with regular practice, certain errors can slow your handstand walk progression. Identifying and correcting these mistakes will help you improve your technique and avoid plateaus.
| Mistake | Consequence | Solution |
|---|---|---|
| Excessive back arch | Loss of balance | Strengthen the core, practice the hollow body hold |
| Steps too large | Imbalance and falling | Start with small, controlled steps |
| Poor head position | Difficulty maintaining alignment | Keep your gaze fixed between your hands |
Mental strategies to overcome mental blocks
The psychological dimension plays a major role in mastering the handstand walk. To overcome your fears and progress, adopt these mental strategies:
- Visualisation: Before each session, picture yourself performing a perfect handstand walk. See yourself moving smoothly, in complete control. This mental rehearsal primes your brain for the actual movement.
- Controlled breathing: Use breathing techniques to stay calm and focused. Inhale deeply before kicking up, then maintain a steady rhythm throughout the walk. If you feel tension building, a long exhale can reset your composure.
- Progressive goals: Set yourself realistic targets and celebrate every bit of progress. First goal: one step. Then three steps. Then five metres. Each milestone builds confidence for the next one.