Skills
Tuck Planche: complete guide
The tuck planche is a significantly harder variation of the planche where your body is held parallel to the ground, supported only by your hands. Your knees are tucked towards your chest, reducing the lever and making it more accessible than a full planche, while building the strength needed to get there.
Tuck planche fundamentals
Muscles worked
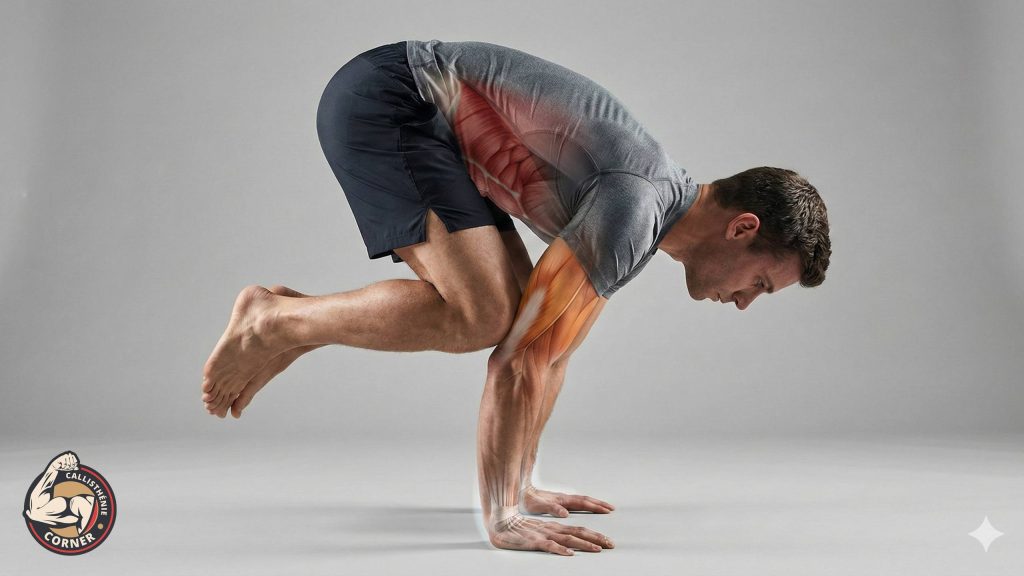
The main muscles targeted during the tuck planche are:
- Anterior deltoids (shoulders)
- Pectorals
- Triceps
- Serratus anterior
- Abdominals
- Trunk stabilisers
Mastering the tuck planche is essential because it develops the strength needed for more advanced variations while improving body control and shoulder stability.
Anatomy of a perfect tuck planche
For a perfect tuck planche, here are the key technical points:
- Hand position: flat on the floor or on parallettes, slightly wider than shoulder width
- Arms: fully extended and locked
- Shoulders: in protraction (pushed forward)
- Back: slightly rounded
- Hips: in posterior tilt (lower back "glued" to the ceiling)
- Legs: knees tucked towards the chest
- Feet: pointed, off the ground
Scapular protraction and posterior pelvic tilt are particularly important. They create a stable position and maximise the force produced by the upper body.
Tuck planche vs frog stand: what's the difference?
The tuck planche and the frog stand (or crow pose) are often confused because they look similar. However, they differ on several key aspects:
| Feature | Tuck Planche | Frog Stand |
|---|---|---|
| Arm position | Straight | Bent |
| Knee placement | Free, near chest | Resting on elbows |
| Difficulty | Higher | Lower |
| Primary muscles | Shoulders, chest, triceps | Forearms, abs |
| Main goal | Strength and control | Balance and proprioception |
The frog stand is used as a preparatory exercise for the tuck planche. It's far less demanding and allows you to develop the balance and confidence needed to hold your body in a horizontal position. The tuck planche puts more emphasis on shoulder and trunk strength, preparing your body for the full planche.
Prerequisites before you start
Before diving into tuck planche training, make sure you've mastered these fundamentals. They'll allow you to approach the exercise safely and optimise your progression:
- Pushing strength: Be able to do at least 15 push-ups with perfect form
- Core stability: Hold a forearm plank for 60 seconds minimum
- Balance: Hold a frog stand for 30 seconds
- Wrist mobility: Place your hands flat on the floor, fingers pointing forward, while supporting your bodyweight
- Shoulder strength: Perform pike push-ups and parallel bar dips
5 steps to master the tuck planche
Lean planche: the key first step
The lean planche is a fundamental exercise for developing the specific strength needed for the tuck planche. To do it correctly:
- Place your hands on the floor, slightly wider than your shoulders
- Extend your arms and lock your elbows
- Shift your shoulders forward past your hands while keeping your body straight
- Hold the position by engaging your abs and glutes
- Aim for a 30-second hold before progressing
Avoid common mistakes like rounding your back or letting your shoulders sag. The lean planche will build the shoulder strength and trunk stability needed for the tuck planche.
Lean planche with elevated feet
Once you've mastered the basic lean planche, place your feet on an elevated surface (bench, box). This shifts more weight onto your hands and increases the demand on your shoulders. Hold for 20-30 seconds before moving on.
Assisted tuck planche
Feet on a low support, tuck your knees towards your chest and slowly lift your feet off the support. The support is there as a safety net. Focus on shoulder protraction and keeping your arms locked.
Static tuck planche
The real deal. From a support position with locked arms, tuck your knees to your chest and hold. Focus on:
- Full arm extension
- Shoulder protraction (push the floor away)
- Posterior pelvic tilt
- Knees tight to chest
Start with 3-5 second holds and build up gradually.
Dynamic tuck planche
Controlled entries and exits from the tuck planche position. This develops the strength to move in and out of the hold, which is crucial for transitioning to more advanced planche variations.
Each step must be mastered before moving to the next. Patience and consistency are essential to progress safely.
Complementary exercises
To accelerate your progression towards the tuck planche, integrate these exercises into your routine:
Scapular push-ups
A key exercise for developing the control and strength needed for the tuck planche:
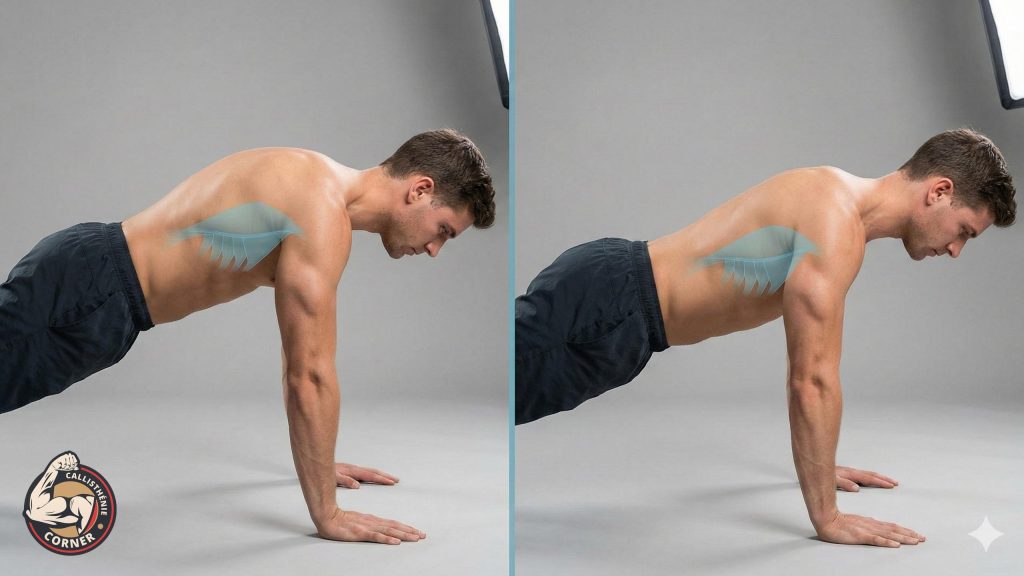
- Start in a high plank position, arms extended
- Without bending your elbows, lower your shoulders by bringing your shoulder blades together, then raise them by pushing them apart
- Keep the rest of your body stable throughout
- Perform 3 sets of 10-15 reps
This exercise strengthens the shoulder stabilisers and improves scapular protraction, which is essential for the tuck planche.
Other beneficial exercises
- L-sit: develops trunk strength and compression
- Hollow body hold: improves core control and body alignment
- Handstand hold: reinforces the shoulders and improves inverted balance
Weekly training program
Structure your sessions to progress efficiently towards the tuck planche.
| Day | Exercises | Sets x Reps |
|---|---|---|
| Monday | Lean planche | 3 x 30s |
| Scapular push-ups | 3 x 12 | |
| Pike push-ups | 3 x 8 | |
| Wednesday | Tuck planche negatives | 5 x 5s |
| L-sit hold | 3 x 15s | |
| Hollow body hold | 3 x 30s | |
| Friday | Tuck planche static | 5 x max hold |
| Handstand hold | 3 x 30s | |
| Pike push-ups | 3 x 10 |
Common mistakes and how to fix them
During tuck planche training, certain mistakes are common. Identifying and correcting them will help you progress faster and stay injury-free:
Bent elbows
Focus on fully locking your arms. If you can't keep them straight, go back to the lean planche and build more strength.
Sagging shoulders
Work on scapular protraction with scapular push-ups. Push the floor away and keep your shoulder blades apart.
Arched back
Strengthen your abs and practise posterior pelvic tilt. Your lower back should be rounded, not arched.
Knees too low
Pull your knees closer to your chest. The more compact you are, the shorter the lever and the easier it is to hold.
Loss of balance
Improve your proprioception with balance exercises like the frog stand. Film yourself to check your form.
Injury prevention
Intensive planche training puts significant stress on certain joints. Here's how to prevent the most common injuries:
- Wrists: Warm them up carefully and strengthen them progressively
- Shoulders: Work on mobility and stability with specific exercises
- Elbows: Avoid hyperextension by locking your arms without forcing
- Lower back: Maintain constant core engagement to protect your spine
Include mobility and targeted strengthening exercises in your warm-up routine. Don't hesitate to use parallettes to relieve your wrists if needed.
How to break through plateaus
It's normal to hit stagnation periods in your tuck planche progression. Here's how to break through:
- Vary your exercises: Introduce new movements to stimulate your muscles differently
- Adjust volume: Temporarily increase sets or reps
- Change frequency: Try increasing or decreasing how often you train
- Target weak points: Identify your weaknesses and focus on improving them
- Rest: Sometimes a week off lets your body regenerate and progress again
What comes after the tuck planche?
From tuck planche to straddle planche
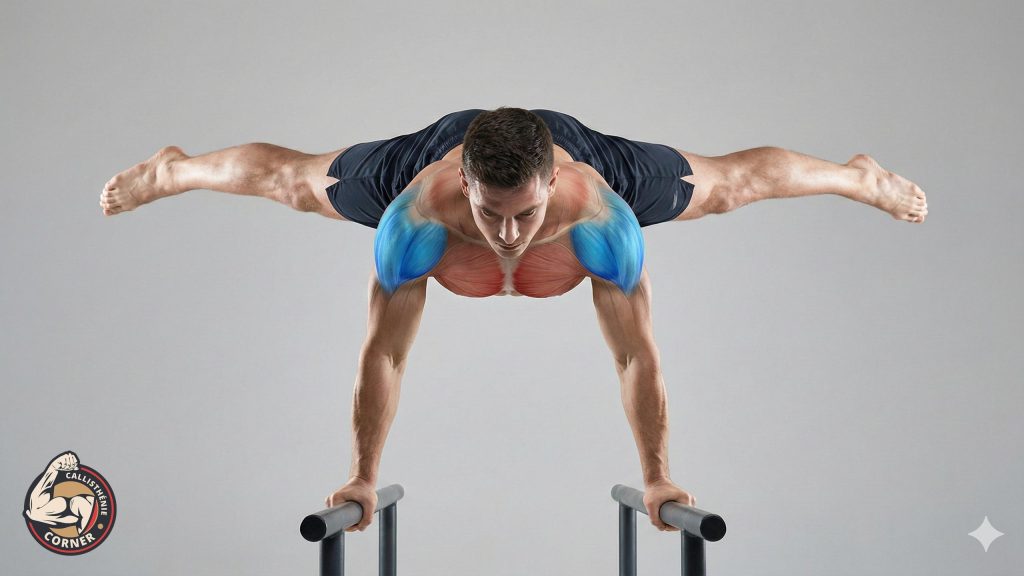
The straddle planche is an important intermediate step between the tuck planche and the full planche. To get there:
- Start by slightly opening your legs from the tuck position
- Gradually extend your legs outward while keeping them raised
- Maintain shoulder protraction and posterior pelvic tilt
- Aim for a wider leg spread over time
The straddle planche demands more strength and control than the tuck planche. Take time to reinforce each intermediate position before progressing.
Towards the full planche
After the straddle planche, you can aim for the full planche. This process can take months or even years. Here are the key steps:
- Advanced tuck planche (knees slightly away from chest)
- Half lay planche (one leg extended, one tucked)
- Straddle planche (legs spread and extended)
- Full planche (body fully aligned and parallel to the ground)
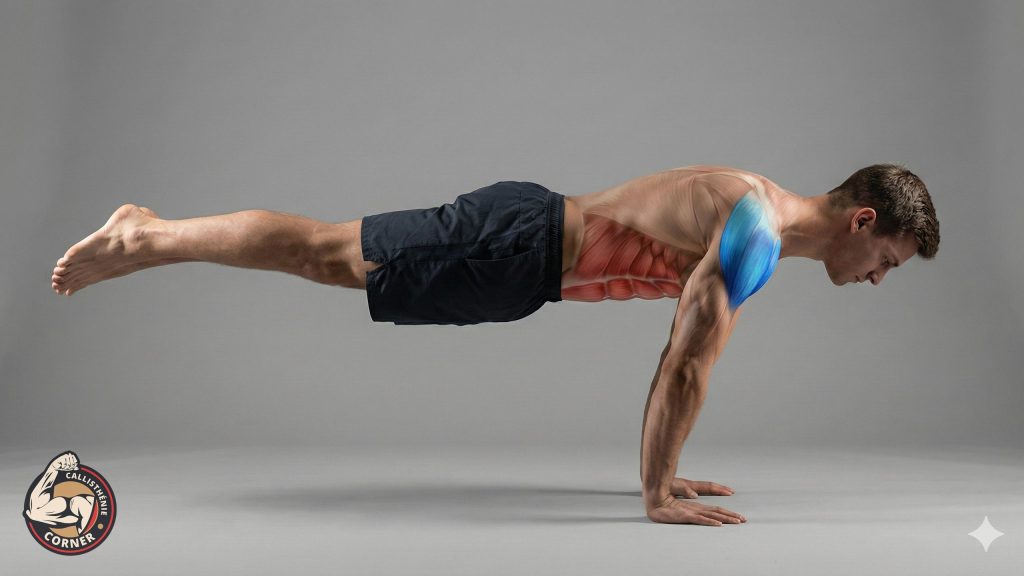
Each progression requires patience and consistent training. Don't hesitate to alternate between these different variations to stimulate your muscles in varied ways.